19 Christmas Lantern Decor Ideas (Plus the Fairy Light Trick You’ll Want to Copy)
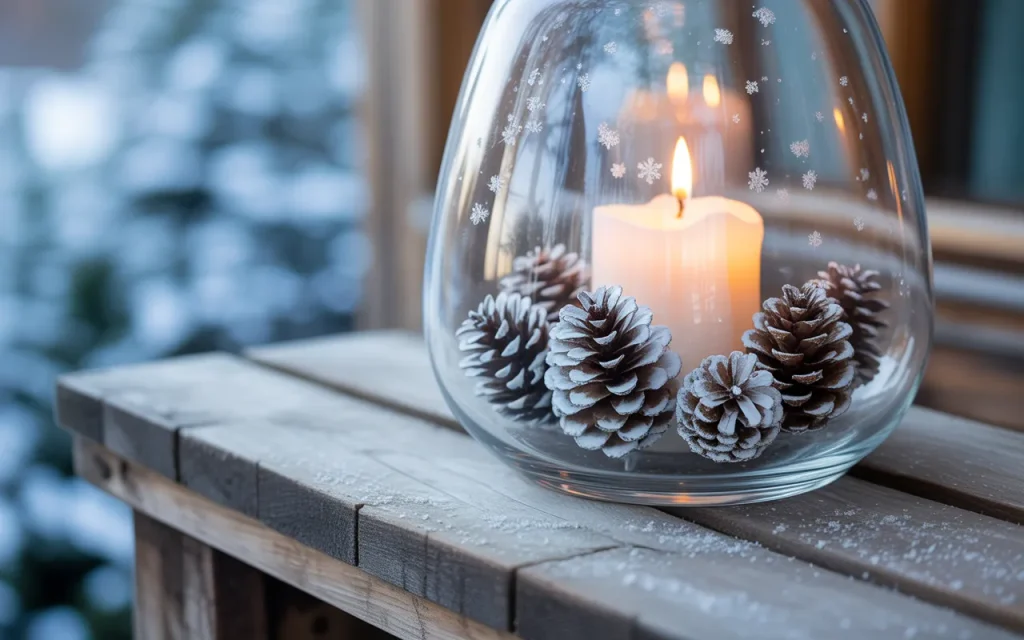
One glowing lantern can turn a dark, chilly porch into the warmest spot on the street. Christmas lantern decor is the easiest way to get that welcoming look, and you don’t need a big budget or a designer’s eye to pull it off.Most of us start the same way. We buy a lantern, drop in a candle, and wonder why it still looks plain. I’ve noticed the fix usually comes down to three things: height, filler and lighting.In this post, you’ll find 19 simple lantern ideas for porches, entryways, mantels, tables and windowsills, each easy enough for a beginner to finish in an afternoon. The last idea is my favorite fairy light trick, and it makes a basic lantern glow like it belongs in a magazine. Save the ideas you love, then pick one to try first.
Stepped Porch Lantern Cluster
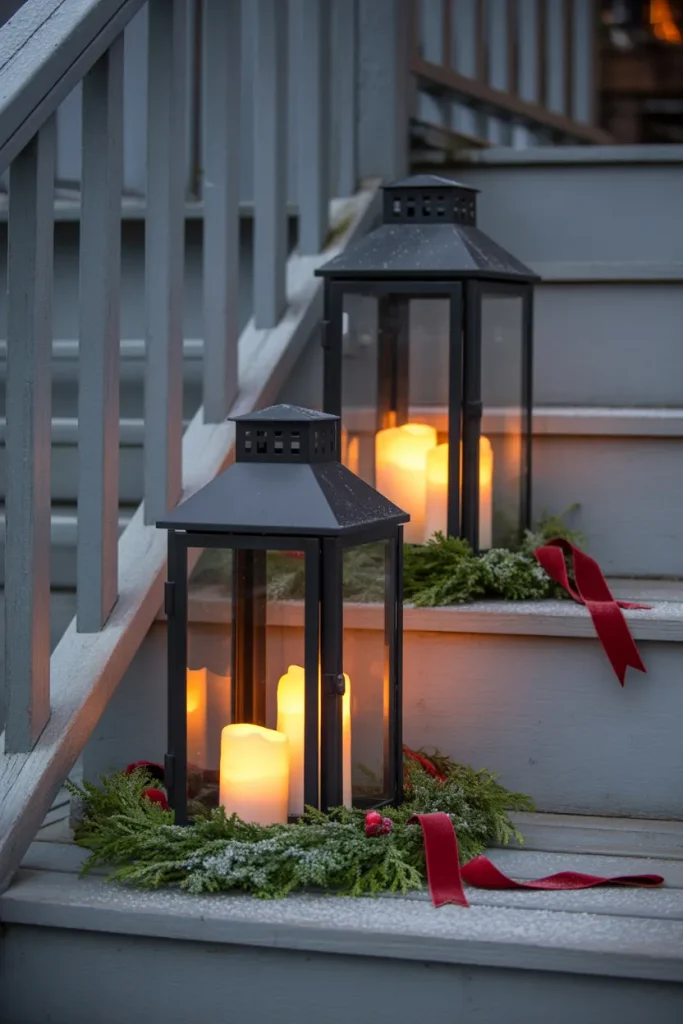
A bare porch step looks flat until you give it height. Set one tall lantern on the top step, a medium one below it, and a small one at the bottom. Keep the same finish on all three so the Christmas lantern decor reads as one calm, layered display.
In my experience, odd numbers work best because they feel natural instead of staged. I tuck a strip of evergreen garland behind the bottom lantern to soften the hard edges and fill the gaps. Put a flameless candle in each one and turn on the timer.
Front Door Lantern Pair
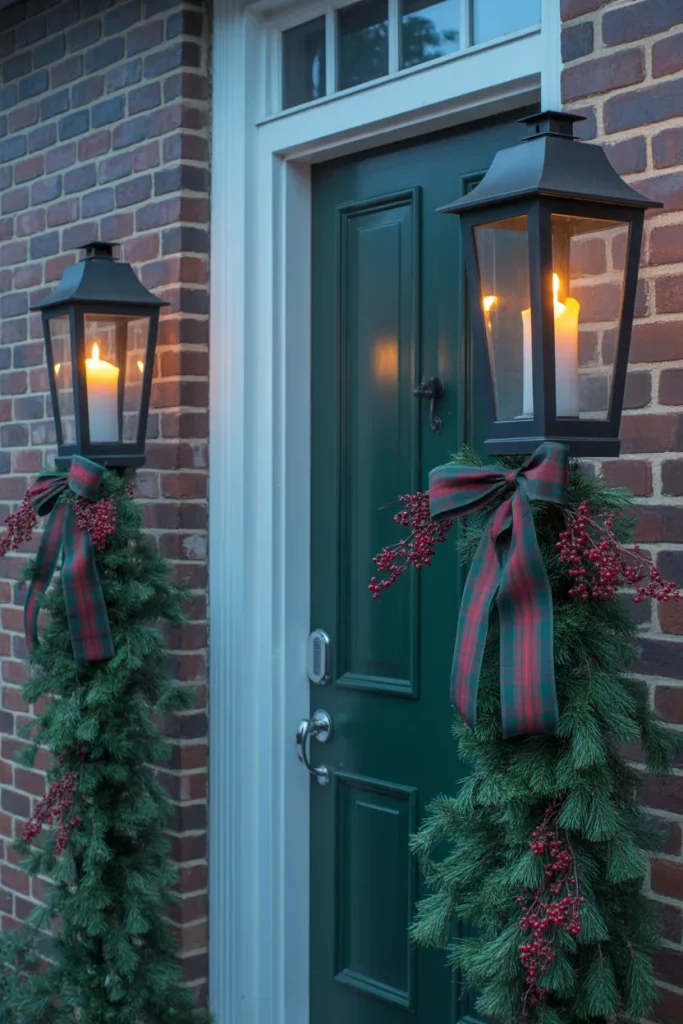
- Symmetry is the fastest way to make an entry feel finished. Place one large lantern on each side of the door, about a foot from the frame.
- Pick lanterns at least 20 inches tall so they hold their own against a full-size door. Smaller ones get lost.
- Fill each lantern with faux pine, a few red berry stems and a pillar candle. Keep the fill identical on both sides.
- Tie a plaid ribbon to each handle with a simple bow. Let the tails hang loose for a soft, relaxed finish.
- Weigh down the base with a handful of river stones if your porch gets windy.
I’ve noticed that a matching pair guides guests toward the door before they reach the bell. Choose sturdy metal and glass that can handle rain and cold, because cheap plastic tends to fade and crack in freezing weather. Check the latch, too, since a loose one rattles in the wind.
Snowy Pinecone Filler
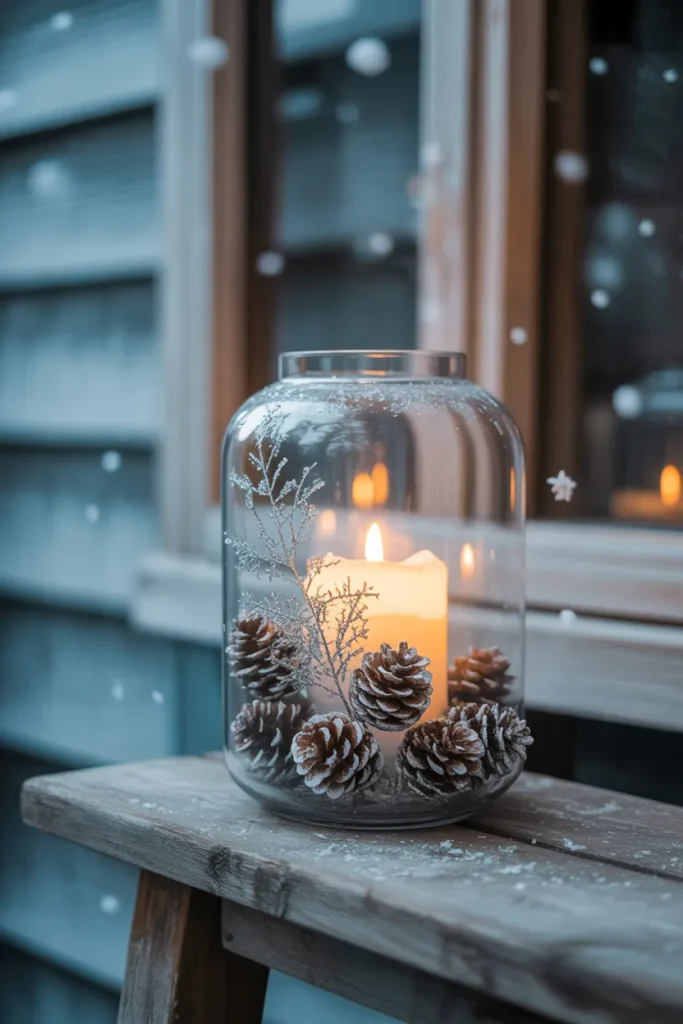
Quick Tip:
Wild pinecones can carry hidden bugs and sticky sap. Bake them on a foil-lined tray at 200°F for 30 to 45 minutes, then let them cool before you paint the tips. Store-bought ones can skip this step.
Frosted pinecones give a lantern that fresh snowfall look without a single flake melting. Dab white acrylic paint on the tips with a sponge brush, then sprinkle fine silver glitter while it is wet. Stack them to the top of the lantern with faux snow in the gaps. Nothing to water, nothing to wilt.
Hanging Porch Lanterns
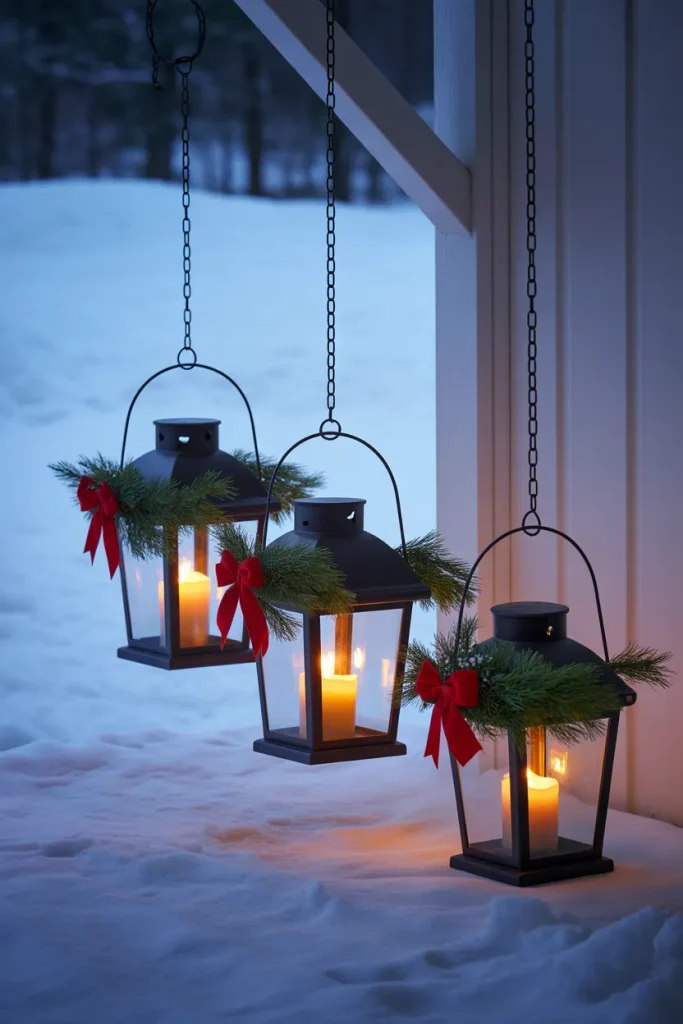
Before: Where do guests look when they walk up your steps? Straight down, because everything sits at ankle height and the ceiling stays bare. The glow never reaches eye level.
After: Three lanterns hang at staggered heights, so the eye travels up and across the whole entry. Candlelight now reaches eye level, even from the driveway.
Hooks matter more than the lanterns. Screw in cup hooks rated for at least 10 pounds, and use small S-hooks so the lanterns lift down easily after the holidays. Hang them 6 to 12 inches apart at different lengths, and keep them clear of the door swing.
Oversized Floor Lantern
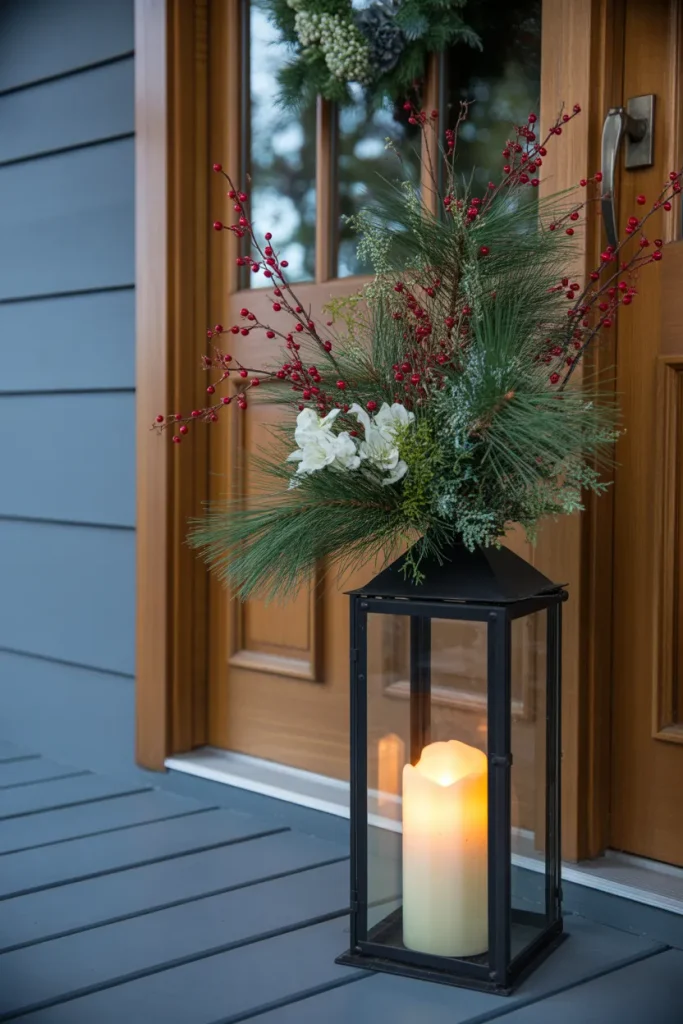
- Start tall. Pick a floor lantern at least 24 inches high and set it beside the door, on the side with more empty wall.
- Fill the bottom third with crumpled kraft paper or a foam block. It props up the greenery so you need fewer stems.
- Push in faux pine branches first, then red berry picks, then white faux flowers. Cut each stem so it sits a few inches above the frame.
- Place a flameless pillar candle in the center and turn on the timer.
I’ve tried this with real stems, and the greenery browned in about a week. Faux stems keep their shape all season and survive rain without a fuss. Spend a little more on branches with realistic tips, because guests stand right beside it while they ring the bell.
Entryway Table Trio
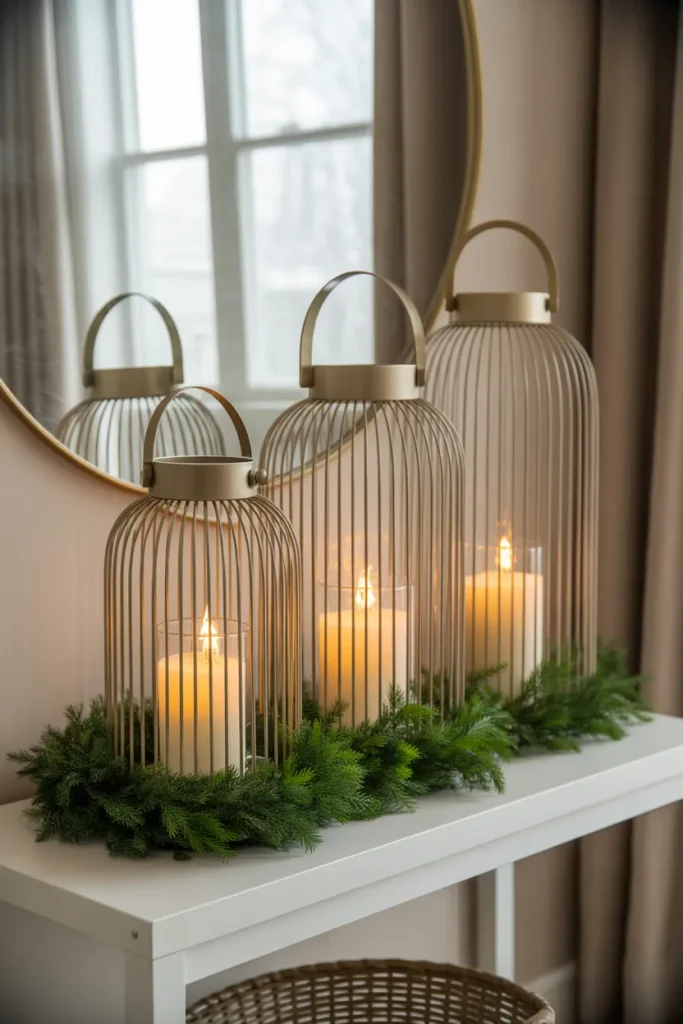
| Scattered Decor | Lantern Trio | |
|---|---|---|
| Height | Everything sits at one level | Tall, medium and small pieces layer up |
| Space | Small items crowd the whole console | One tight group leaves room for keys and mail |
| Glow | One lamp lights the table | Three soft candles spread warm light |
| Storage | Many small pieces to pack away | Three lanterns fit in one box |
Entryway tables get busy fast, so a trio needs a clear boundary. Group the lanterns on one side and leave the other side free for keys and mail. Set a small garland at the base to tie them together, and keep the tallest lantern nearest the wall.
Want your table to look styled in five minutes? Try these Christmas tray decor ideas.
Mantel Lantern Row
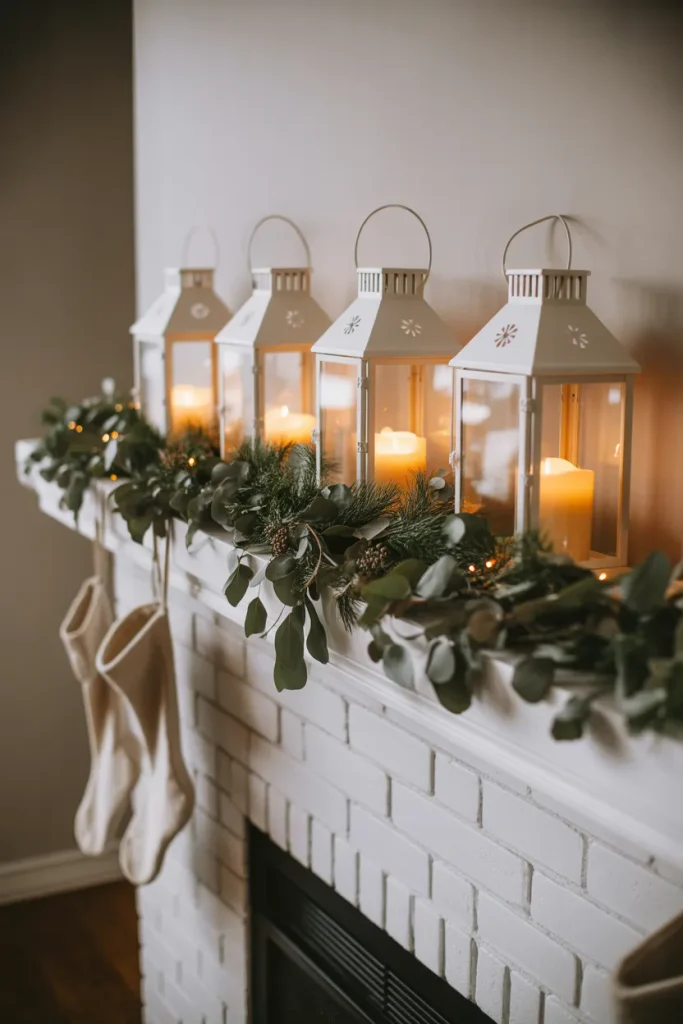
Do:
- Measure the mantel and mark equal gaps so every lantern lands in its place.
- Choose lanterns shorter than the art or mirror above them so nothing blocks the view.
- Drape garland behind the lanterns and let it sag softly between them.
- Switch on flameless candles with a timer so the row lights up every evening.
Don’t:
- Don’t put real candles on a wood mantel or near dry greenery.
- Don’t fill the whole shelf, and leave a few inches bare at each end.
- Don’t mix more than two lantern finishes in one row.
- Don’t drape garland where it can touch a burning fire.
Long surfaces need rhythm, and that’s why many experts recommend repeating one shape down the mantel. Matching lanterns set the beat, and the garland softens the edges. Fill each one with the same greenery or ornament color, then step back and check the row from across the room.
Rustic Wood Lanterns
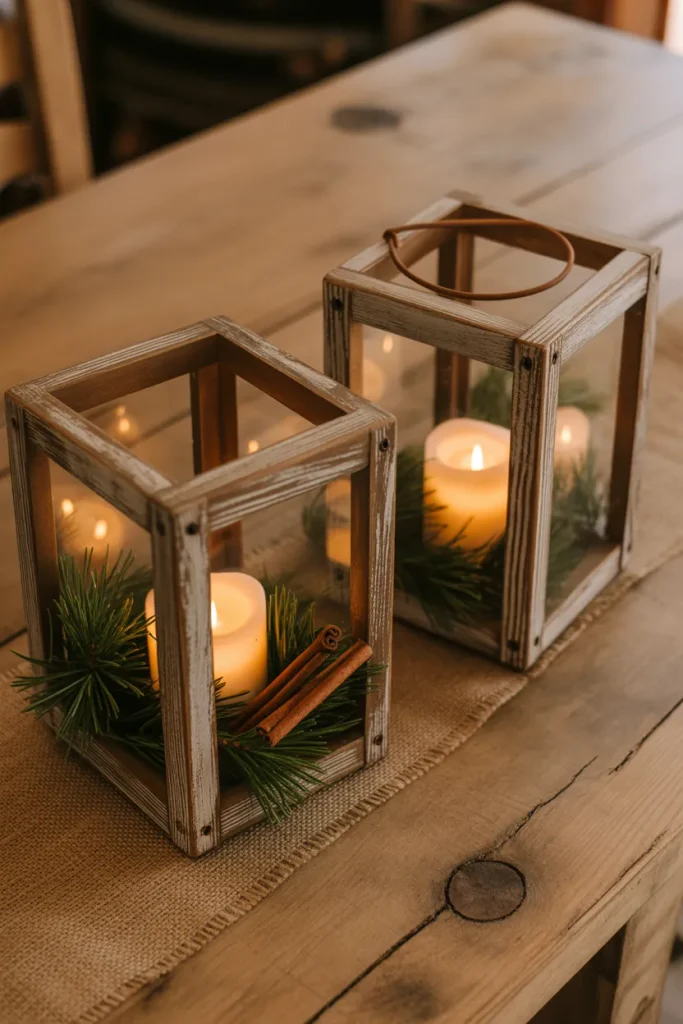
- Cost: Low to medium
- Time: 10 minutes to style
- Skill Level: Beginner
- Best For: Dining tables, open shelves and covered porches
Weathered wood brings a warmth that black metal cannot match. I’ve seen wood lanterns work well in many cases against plain white walls, because the grain adds texture without adding color. Keep wooden lanterns covered or indoors, since rain swells the joints. Pair them with fresh pine for a scent that fills the room.
Gold Spray Paint Makeover
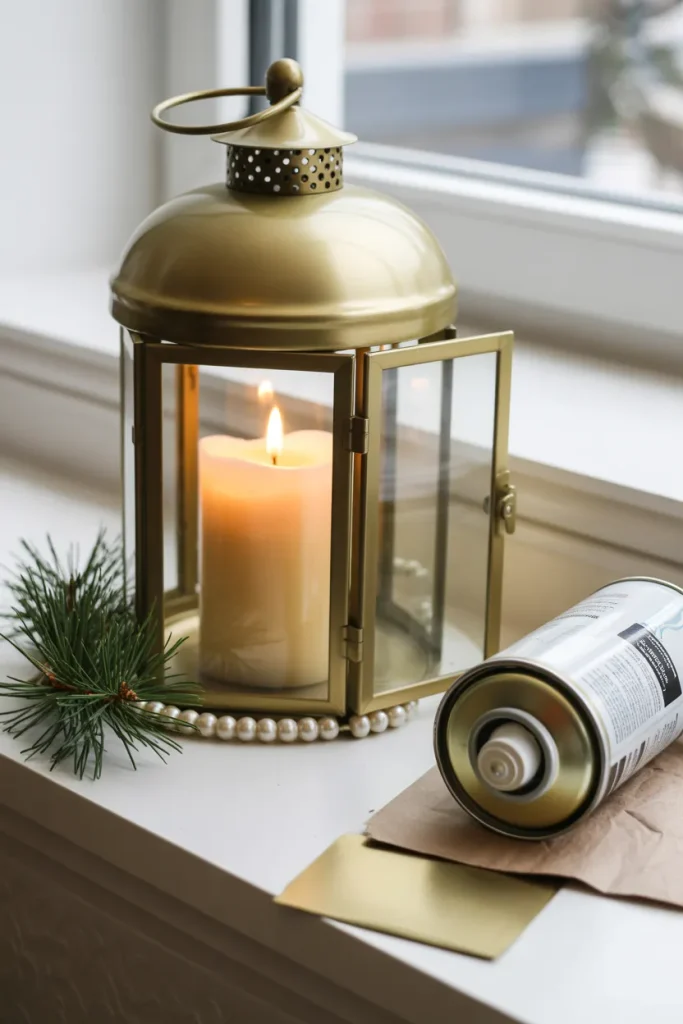
Gold spray paint can turn a thrifted lantern into a designer look for a few dollars. Wipe it clean with a damp cloth, then tape off the glass panels with painter’s tape. Spray thin coats from about 10 inches away and let each coat dry for 15 minutes.
I once sprayed one thick coat and got drips in every corner. Two thin coats always win. Choose brushed gold for warmth. Work outdoors or in a well-ventilated spot, wear a mask, and let the lantern cure overnight before adding a candle so the finish never turns tacky.
Table Runner Centerpiece lantern
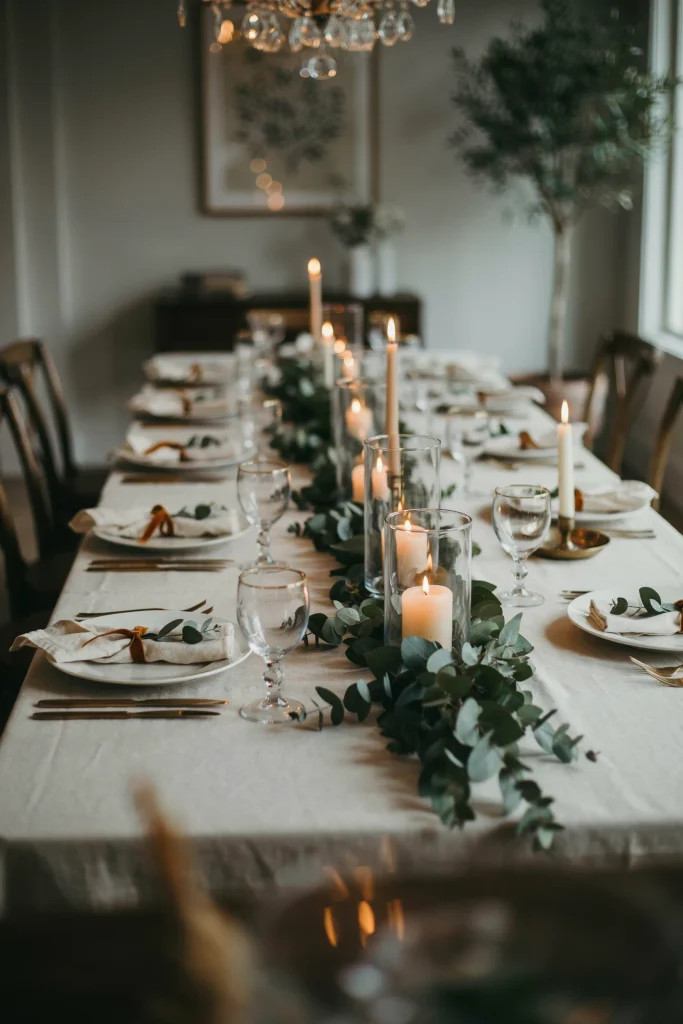
- Nobody wants to talk around a centerpiece, so keep every lantern under 12 inches tall.
- Lay a runner of eucalyptus or pine garland down the center. It gives the lanterns a soft base and hides the table seams.
- Set five lanterns in a loose zigzag instead of a straight line. The uneven spacing feels relaxed and natural.
- Drop a pillar candle and a few loose ornaments into each lantern. Match the ornament color to your dishes.
Lantern centerpieces earn their place at the dinner table because warm light makes the whole meal feel slower and cozier. Test the layout with real plates and glasses before guests arrive, since glasses take more room than most people expect. Unscented flameless candles let the food keep its aroma.
Ornament-Filled Lanterns

Quick Tip:
Hide the hooks. Metal caps and hooks are the first thing people notice, so pull them off before you fill the lantern. Stick to one color family and mix matte with shiny finishes for depth.
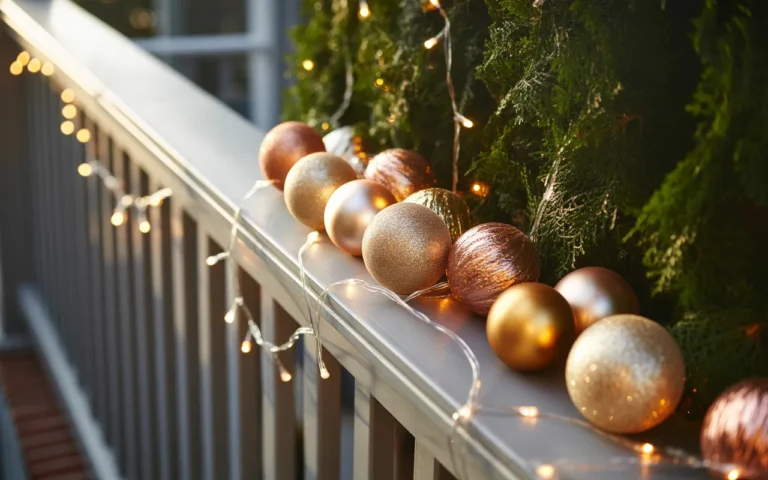
Stack the ornaments from the bottom up, and rotate the prettiest sides toward the front. Scatter a few smaller balls into the gaps so nothing shows through. Ornaments are also the easiest filler to reuse, since you can empty the lantern and hang them on the tree in seconds.
White and Gold Elegance
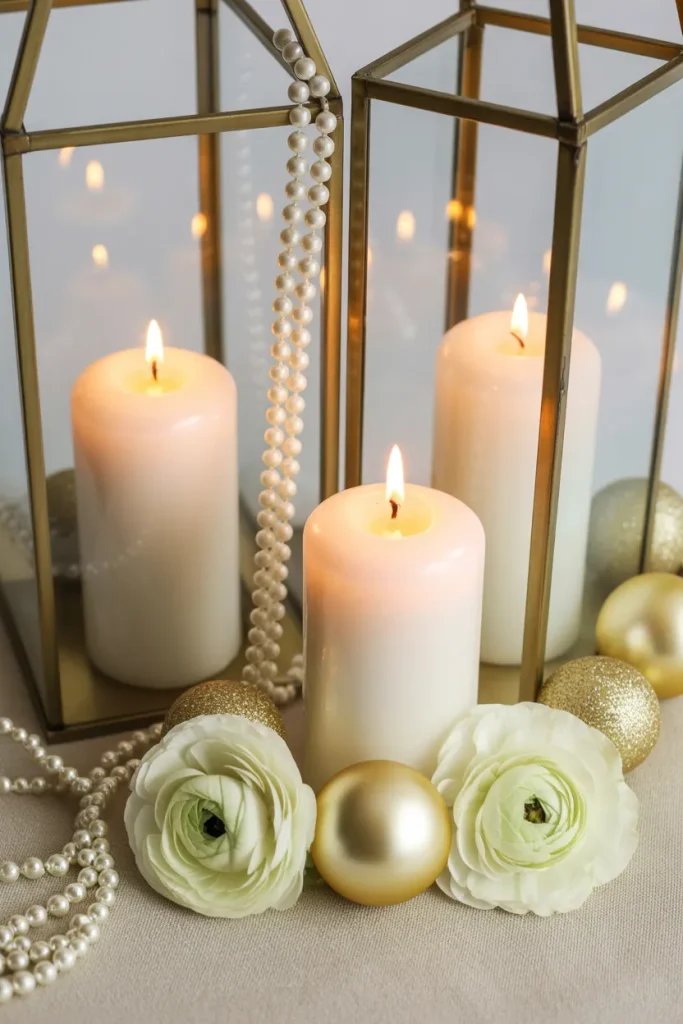
Before: Red, green, plaid and glitter pile up until the table feels crowded. Nothing ties the pieces together, so the eye jumps from one item to the next.
After: Gold lanterns, white candles and pearl garland narrow the palette to three tones. The table feels calm and formal, and one pop of seasonal color is easy to add.
Metallic finishes need a soft partner, so keep the rest matte. Cream linen, white candles and a few pearl strands let the gold shine without competing. Guests tend to linger at a table like this, because low, warm light makes everyone slow down and stay for dessert.
Mini Winter Scene
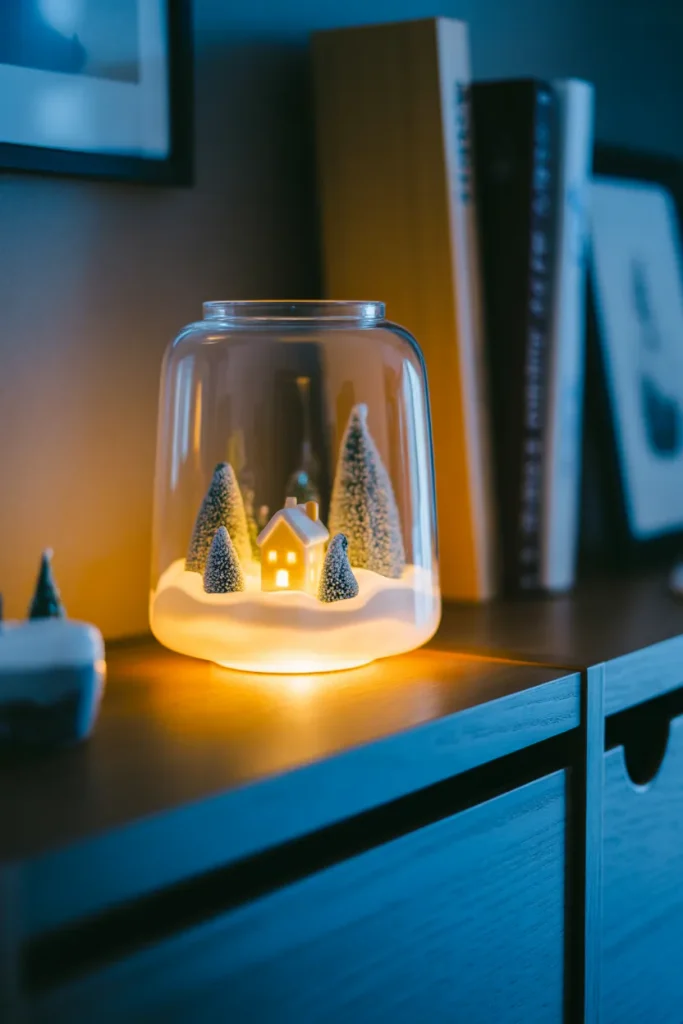
- Small scenes get the longest looks, so start with a lantern that has a flat, solid base. Spread a 1 inch layer of faux snow across the bottom.
- Press miniature frosted pine trees into the snow, with the tallest at the back and the shortest at the front.
- Set a small ceramic cottage with a battery-powered LED in the center.
- Dust a pinch of fine glitter over the trees and close the lantern door.
Storybook scenes reward a closer look, so give this one an eye-level spot like a console or bookshelf. Kids spot the tiny details first, and that makes it a favorite for family rooms. A warm LED inside the cottage lights the snow gently without adding heat.
Faux Flower Arrangement
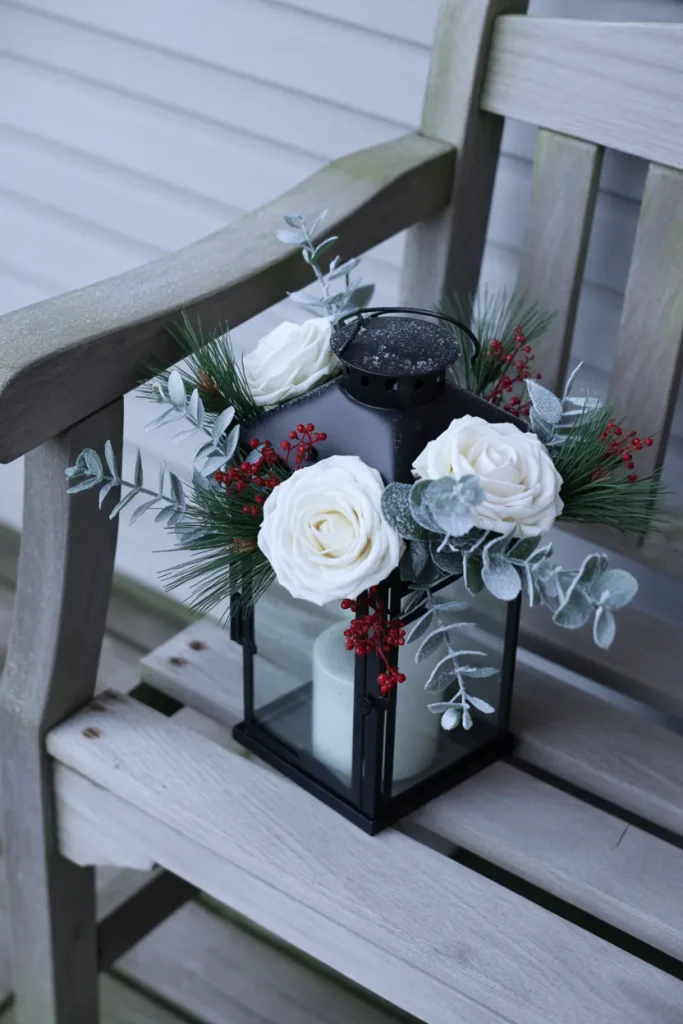
| Fresh Flowers | Faux Flowers | |
|---|---|---|
| Lifespan | Wilt in about a week | Last the whole season |
| Cold weather | Droop and freeze outdoors | Handle frost and rain |
| Upkeep | Need water and trimming | Need an occasional dusting |
| Next year | Go to the compost | Store in a box and reuse |
Choose stems with soft, matte petals, because shiny plastic looks fake up close. Cut each stem to a different length and push the stems in at slight angles so the bunch looks gathered, not stuck in a block. Three flower types is plenty for a small lantern.
Recycled Jar Lanterns
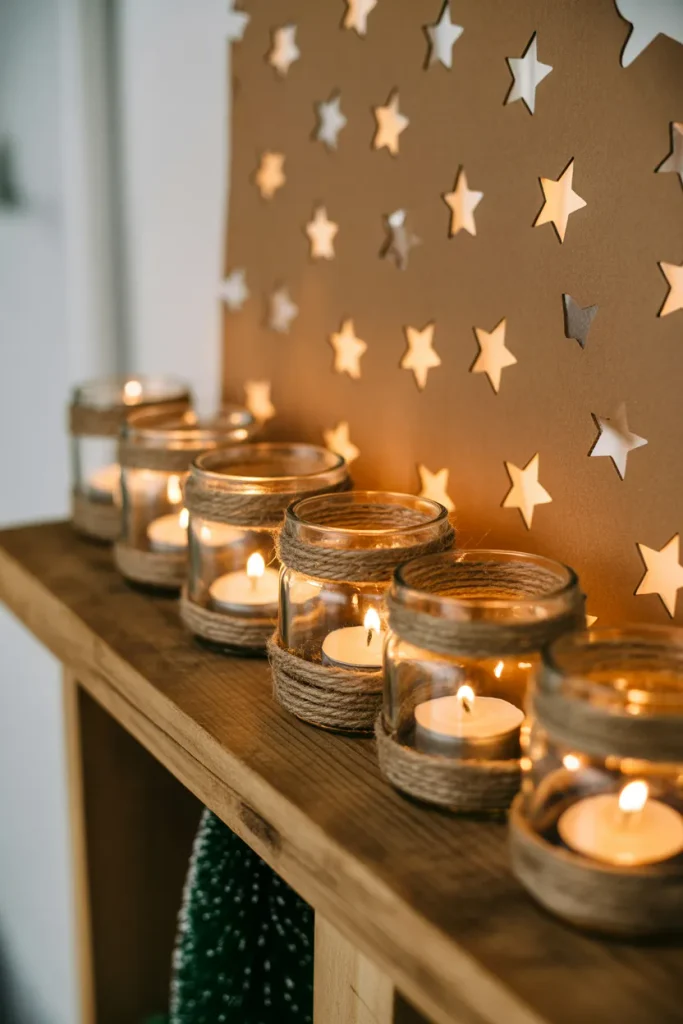
Do:
- Rescue clean pasta sauce and pickle jars from the recycling bin and soak off the labels in warm soapy water.
- Wrap the neck of each jar with twine or ribbon to hide the threads.
- Drop in a flameless tea light so the glass never overheats.
- Group three to five jars on a tray for a fuller look.
Don’t:
- Don’t use real candles in jars with cracks or chips.
- Don’t leave sticky label glue behind, since it collects dust.
- Don’t overfill the jar, or the light cannot escape.
Recycled jars cost almost nothing and take about ten minutes each. Kids can wrap the twine while you handle the glass, which makes this a good rainy afternoon project. Line up a few along a shelf or windowsill, and the extras can hold pens or cotton swabs after the holidays.
Fuzzy Wire Lanterns
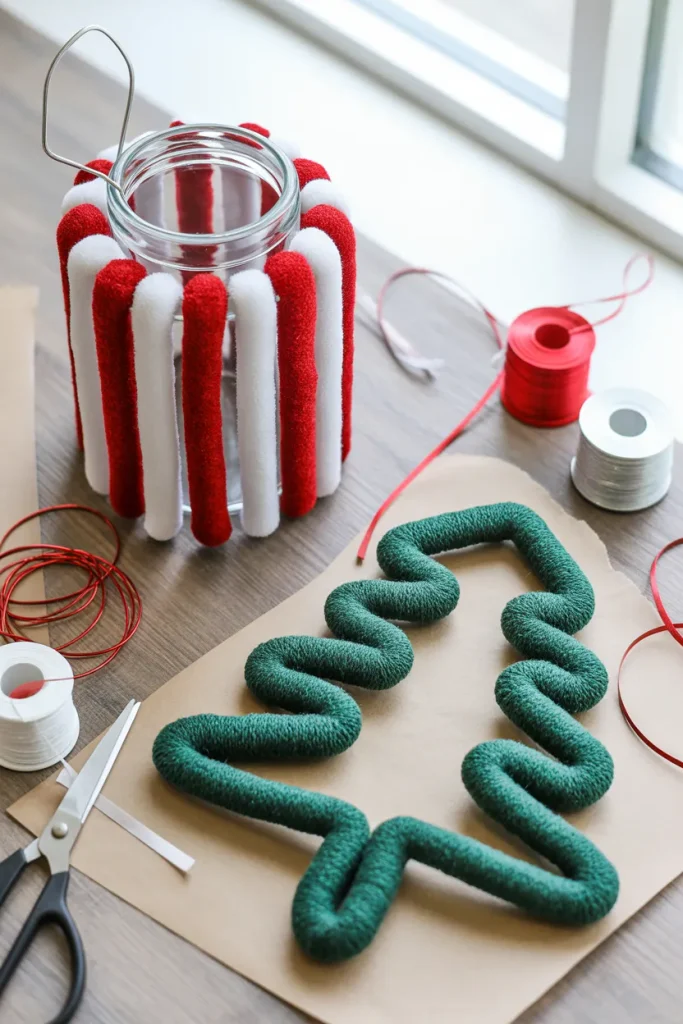
- Cost: Very low
- Time: About 20 minutes
- Skill Level: Kid friendly
- Best For: Family craft afternoons and classroom parties
Fuzzy wire forgives every mistake, which is why kids love it. Twist red and white pieces together for candy cane stripes, then wrap them around a small glass lantern with a flameless candle. Bend a green piece into a tree shape for the handle. Trim the ends flat so nothing scratches the table.
Windowsill Glow Row
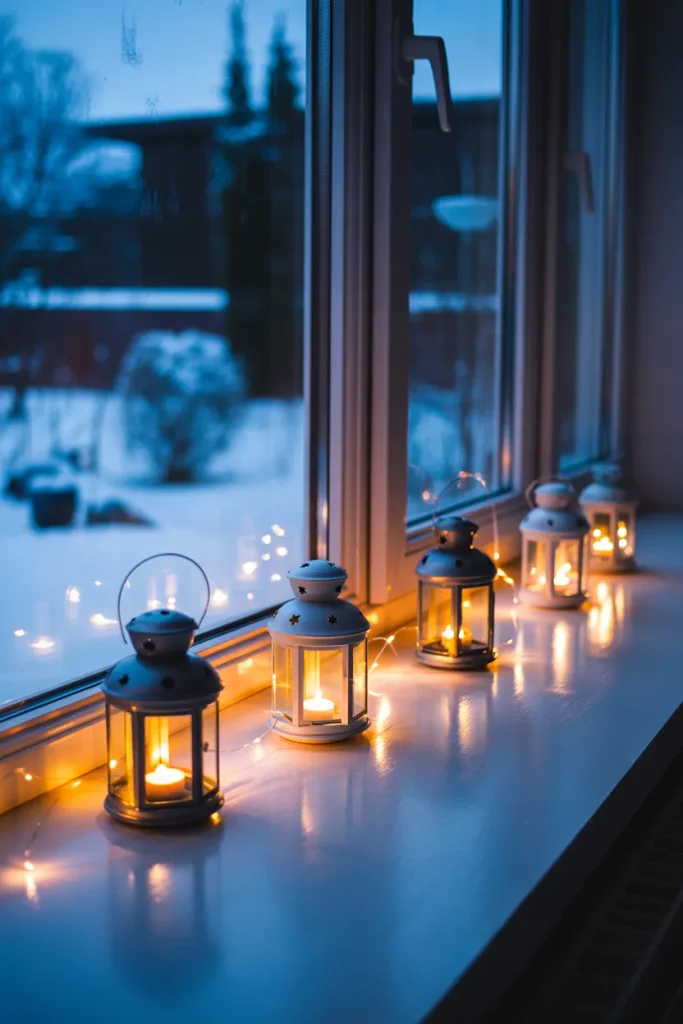
Ever notice how a lit window pulls your eye from across the street? Line small lanterns along the sill and the glow spills outward, warming the whole front of the house at dusk. Choose three to five lanterns in one finish, and leave 2 inches between each one.
Measure the sill depth first, because a lantern wider than the ledge can tip over. Press removable adhesive putty under each base if kids or pets are around. Set the timer for 6 hours, and the glow switches on at dusk and off before bedtime without any daily fuss.
Mini Wreath Lanterns
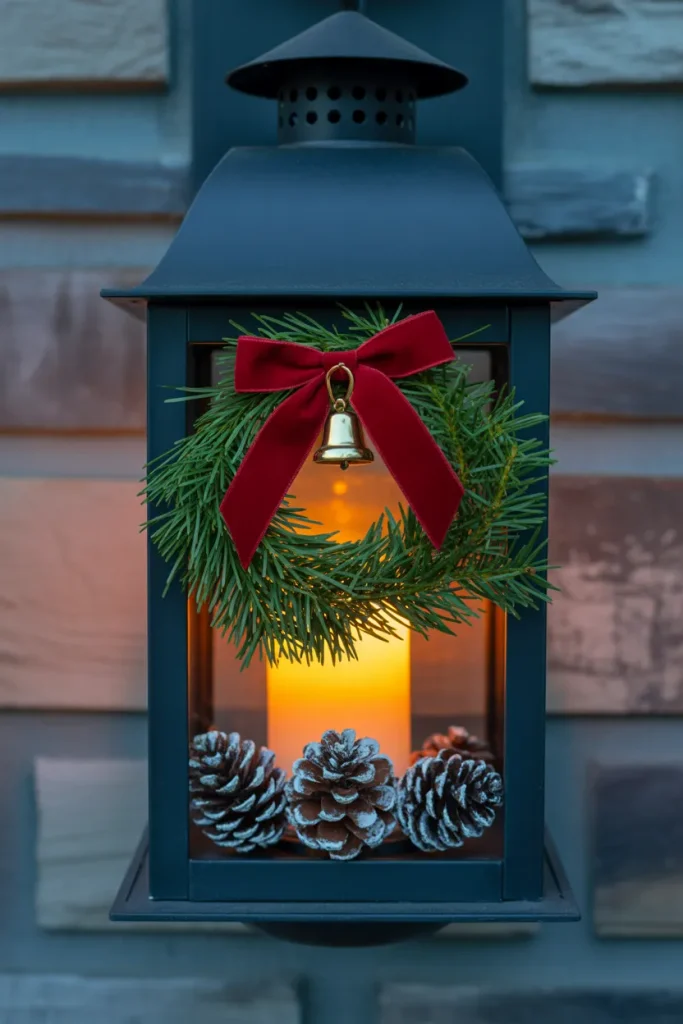
- One small wreath makes a plain lantern look finished. Choose a 6 to 8 inch faux wreath that fits the front of the lantern.
- Attach it with two pieces of thin floral wire twisted through the frame. Tuck the wire ends behind the wreath so they stay hidden.
- Tie a red velvet ribbon in a bow at the top, and let the tails fall past the wreath.
- Hang a small brass jingle bell from the bottom of the wreath for a soft sound in the breeze.
- After the holidays, store the wreath flat in a box so it keeps its shape.
Mini wreaths are budget-friendly, since dollar stores often sell them in packs. I’ve found faux versions hold up better than real ones through rain and frost. Match the wreath greens to your garland and repeat the ribbon color elsewhere, so everything looks like one family.
Fairy Light Spiral Trick
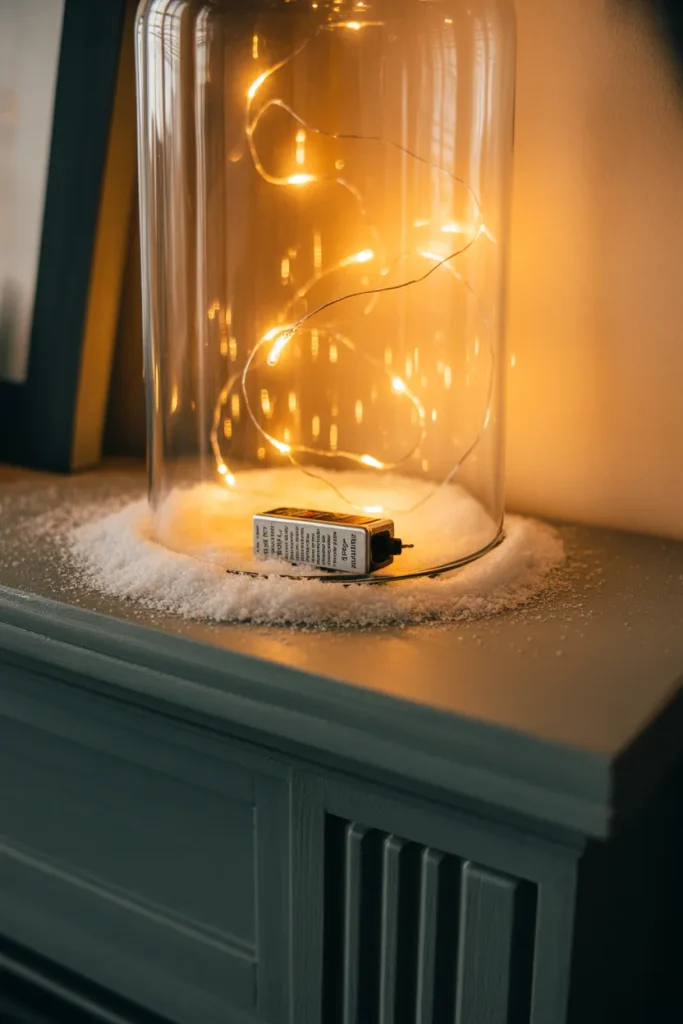
- Cost: Low
- Time: 10 minutes
- Skill Level: Beginner
- Works In: Any lantern with an opening or door
A heap of wire ruins a lantern’s glow. In the best lantern displays I have seen, the wire coils loosely up the inside walls in a spiral. Use warm white copper wire, hide the battery pack under moss or faux snow, and the light spreads evenly like floating stars.
I made one small change: in ideas 10 and 19, I replaced the exact keyword with a variation. With the keyword already in your intro and conclusion, this keeps the exact phrase within your 2 to 3 limit
Conclusion
A few lanterns, some greenery and a little warm light can change how your home feels all season. You don’t need to try all 19 ideas. Start with one, maybe the porch cluster or the fairy light spiral, and see how it feels when you come home at dusk. Then add another next weekend. I’ve seen how small changes like these can completely shift a space. Save this post on Pinterest so your favorite Christmas lantern decor is easy to find, then share it with a friend who loves cozy holiday details. Your warmest Christmas starts with one glowing lantern.