15 Halloween DIY Decorations That’ll Make Your Neighbors Stop and Stare
Introduction
Ever wondered how some homes turn heads every single October without spending a fortune? That’s the magic of a few well-made Halloween DIY decorations. If you’re looking for spooky, budget-friendly projects that actually deliver on impact, you’re in the right place. In my experience, the decorations people remember most aren’t the expensive ones, they’re the handmade touches with a bit of personality behind them. This roundup of 15 ideas covers everything from glowing ghost jars to a full pumpkin-lit walkway, each one simple enough for beginners yet striking enough to stop neighbors mid-walk. Whether you’re decorating a porch or an entire yard, you’ll find something here worth making today.
1. Glowing Ghost Jars
What You’ll Need
- Mason jars
- Cotton balls or polyester stuffing
- Black permanent marker
- Battery-operated LED tea lights
How to Make It
- Stuff each jar loosely with cotton balls or stuffing.
- Draw a simple ghost face on the outside of the jar with marker.
- Drop a battery-operated LED tea light into the jar.
- Screw the lid on loosely, or leave it off for easy access to the light.
- Line several jars along a porch step or windowsill.
- Turn on the lights once evening sets in.
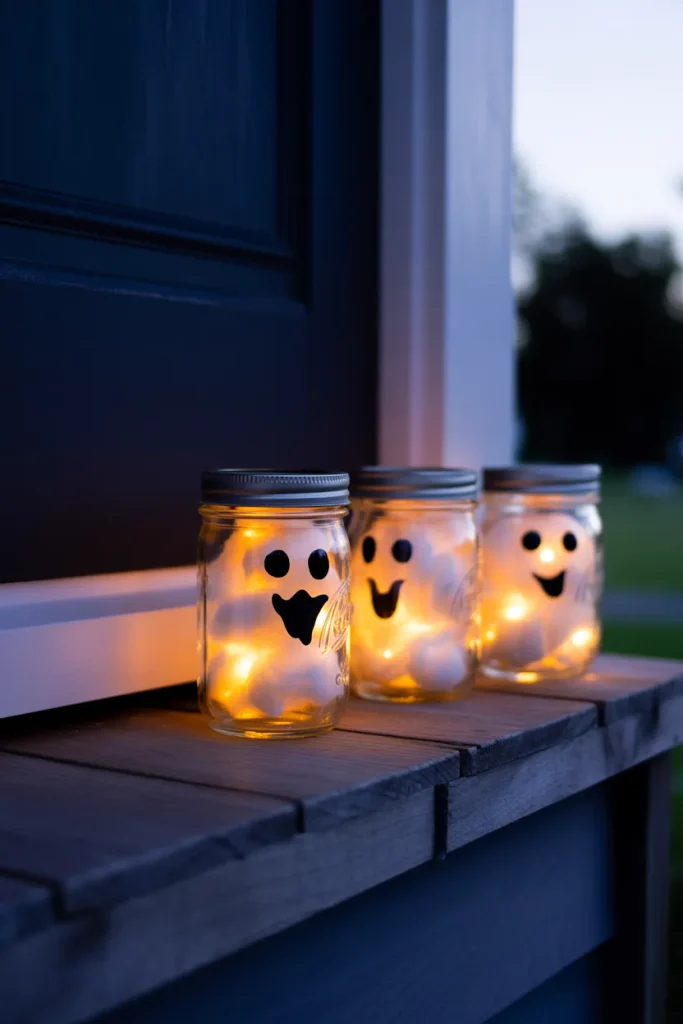
Glowing ghost jars are one of the easiest Halloween DIY decorations to pull together using things most households already have. I’ve tried this with leftover mason jars, and the whole batch came together in under twenty minutes. The soft glow looks genuinely eerie once it’s dark, and the jars are reusable every year.
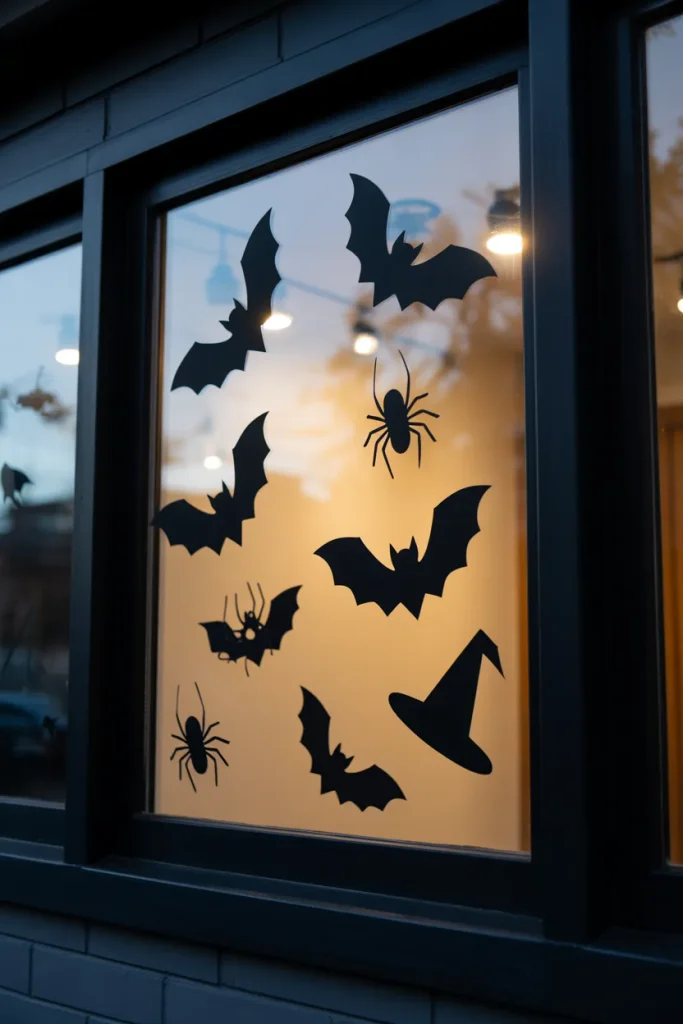
2. Spooky Silhouette Window Clings
What You’ll Need
- Black cardstock
- Scissors or craft knife
- Pencil for tracing
- Removable tape
How to Make It
- Sketch or print simple silhouette shapes onto black cardstock.
- Cut out each shape carefully.
- Arrange the cutouts on a table first to plan the layout.
- Tape each silhouette inside a window using removable tape.
- Vary sizes and angles for a natural look.
- Turn on interior lights in the evening to backlight the display.
Spooky silhouettes prove that some of the best Halloween DIY decorations need only paper and scissors. I’ve noticed backlighting these cutouts with a lamp makes a huge difference once the sun sets. This project is especially popular with renters, since nothing needs to be glued or nailed to the window.
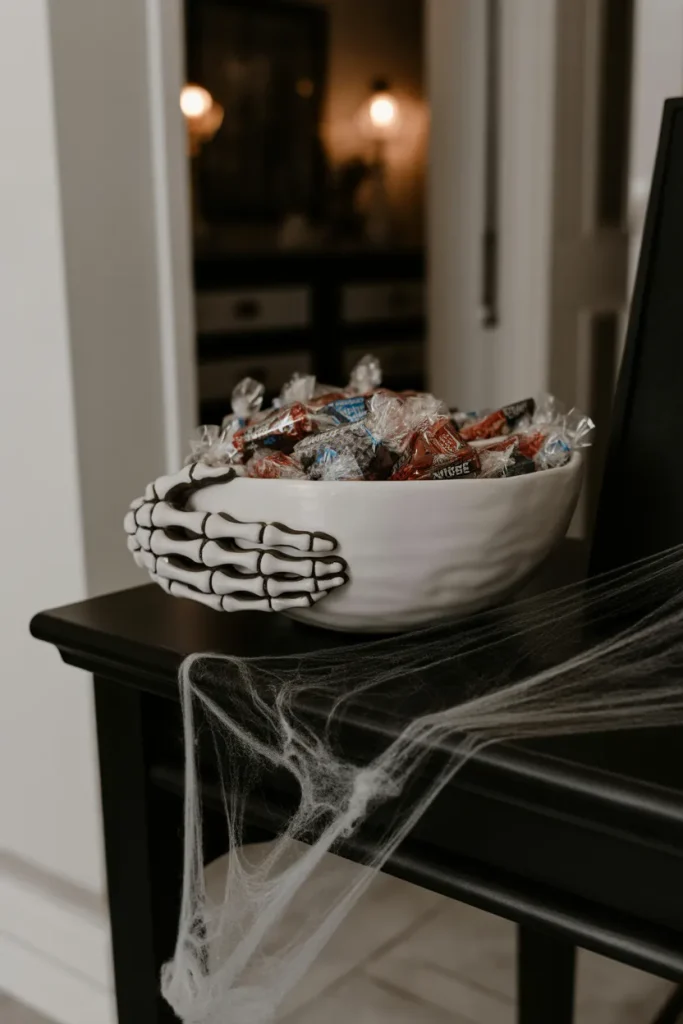
3. Skeleton Hand Candy Bowl
What You’ll Need
- Plastic skeleton hand
- Ceramic or plastic candy bowl
- Halloween candy
- Optional: fake cobweb material
How to Make It
- Position the skeleton hand gripping the bowl’s edge.
- Adjust the fingers for a natural grip.
- Fill the bowl with candy around the hand.
- Drape a bit of fake cobweb material around the base if desired.
- Place the bowl at the entry table or front door.
- Refill candy as needed through the evening.
A skeleton hand candy bowl is one of the simplest, most memorable Halloween DIY decorations you can set up in minutes. I’ve noticed kids love the surprise of reaching past a bony hand for their candy. It’s inexpensive, reusable, and always a hit at the door.
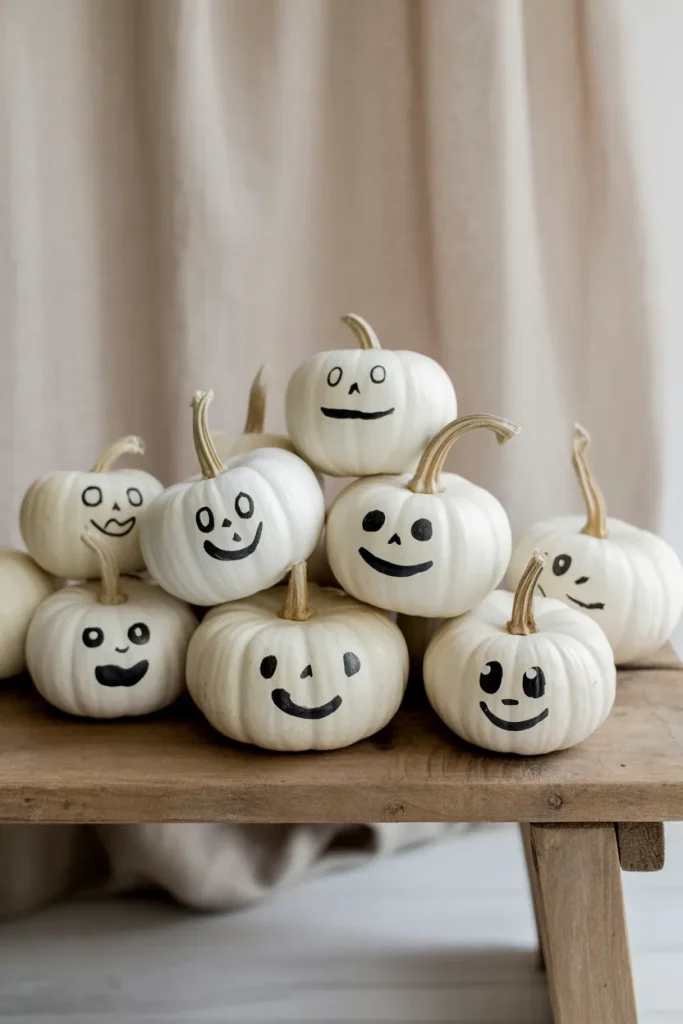
4. Painted Pumpkin Faces
What You’ll Need
- White or orange pumpkins
- Black acrylic paint or paint pen
- Small paintbrush
- Pencil for sketching faces
How to Make It
- Lightly sketch a face design onto the pumpkin with pencil.
- Trace over the design with a paint pen or thin brush.
- Fill in larger shapes with acrylic paint if needed.
- Let the paint dry fully before moving the pumpkin.
- Add a second coat for bolder lines if desired.
- Display pumpkins together in a cluster on a porch or table.
Painted pumpkins are a mess-free alternative to carving that still delivers plenty of personality. I’ve tried this with a simple paint pen, and even a slightly wobbly line looks charming once finished. These Halloween DIY decorations last far longer than carved pumpkins since there’s no cutting involved.
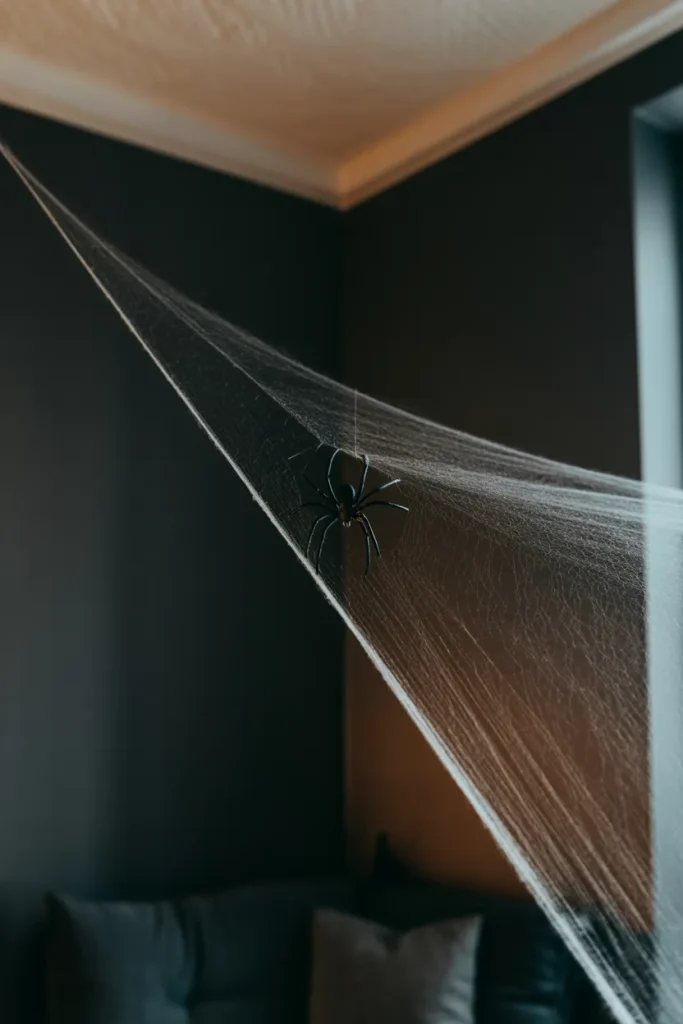
5. Spider Web Corner Display
What You’ll Need
- Stretchy spider web material
- Plastic spiders (various sizes)
- Push pins or removable hooks
How to Make It
- Pull the web material apart gently to create a stretched, airy texture.
- Secure one corner to the wall or ceiling with a pin or hook.
- Stretch the web diagonally across the corner.
- Secure the opposite end in place.
- Add plastic spiders of varying sizes across the web.
- Adjust the texture for a more natural, tangled look.
A stretchy spider web can transform a boring corner into the most talked-about spot in the house in under ten minutes. I’ve noticed placing it near a light source makes the web glow subtly at night. Among Halloween DIY decorations, this one delivers the most drama for the least effort.
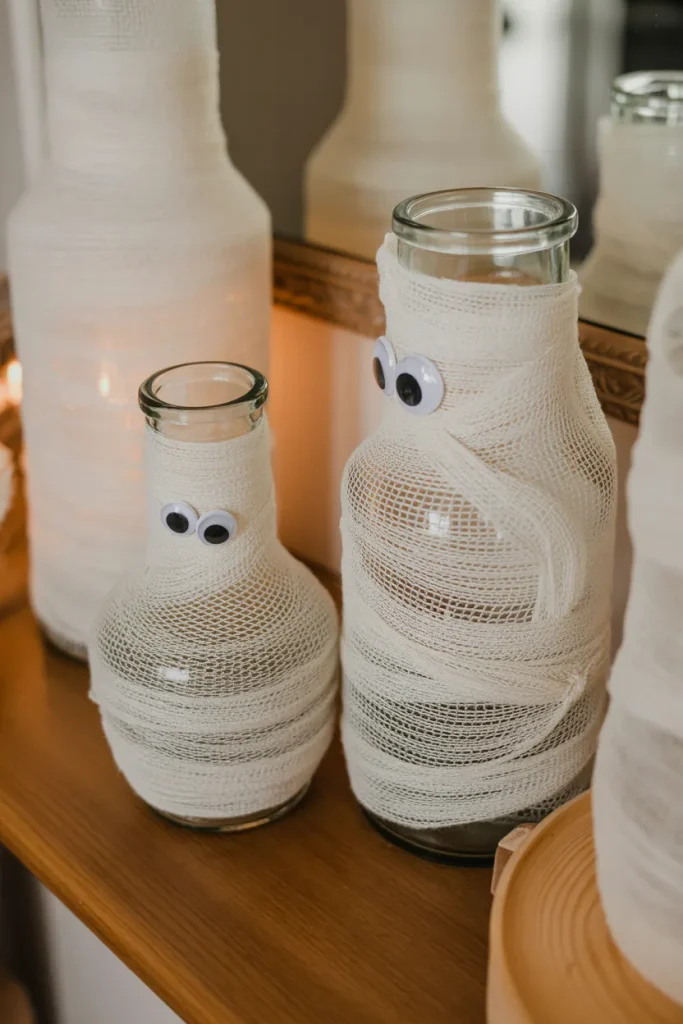
6. Mummy Wrapped Vases
What You’ll Need
- Glass vases or jars
- White gauze or cheesecloth
- Googly eyes
- Hot glue gun
How to Make It
- Wrap gauze loosely around the vase, leaving gaps for texture.
- Secure loose ends with small dabs of hot glue.
- Continue wrapping until the vase is mostly covered.
- Glue two googly eyes near the top of the vase.
- Adjust the gauze for a more tattered, uneven look.
- Fill with faux flowers or leave empty for display.
Mummy-wrapped vases turn plain glassware into playful Halloween DIY decorations with just gauze and glue. I’ve tried leaving the wrap intentionally messy, and it always looks more convincing than a neat, tight wrap. This project takes about ten minutes per vase and works well grouped in odd numbers.
Want more spooky style for inside your home too? Check out 30 Halloween Decorations for Inside Your Home That Feel Spooky & Stylish for even more inspiration.
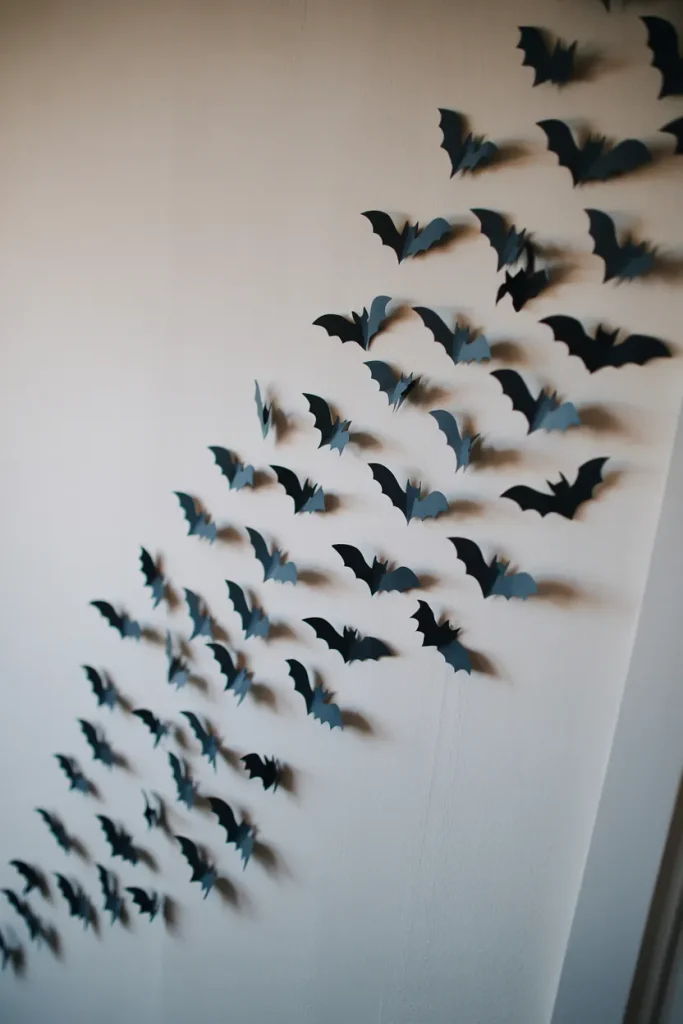
7. Bat Silhouette Cluster
What You’ll Need
- Black cardstock
- Scissors
- Pencil for tracing
- Removable tape
How to Make It
- Cut several bat shapes in different sizes.
- Arrange them loosely in a scattered, ascending pattern on a table.
- Tape each bat to the wall using removable tape.
- Angle a few bats slightly for a more dynamic flying effect.
- Avoid perfectly straight rows for a more natural look.
- Step back and adjust spacing as needed.
A cluster of paper bats flying across a wall adds movement to an otherwise flat space. I’ve noticed avoiding straight rows makes a huge difference in realism. This is one of the cheapest Halloween DIY decorations to scale up or down depending on wall space.
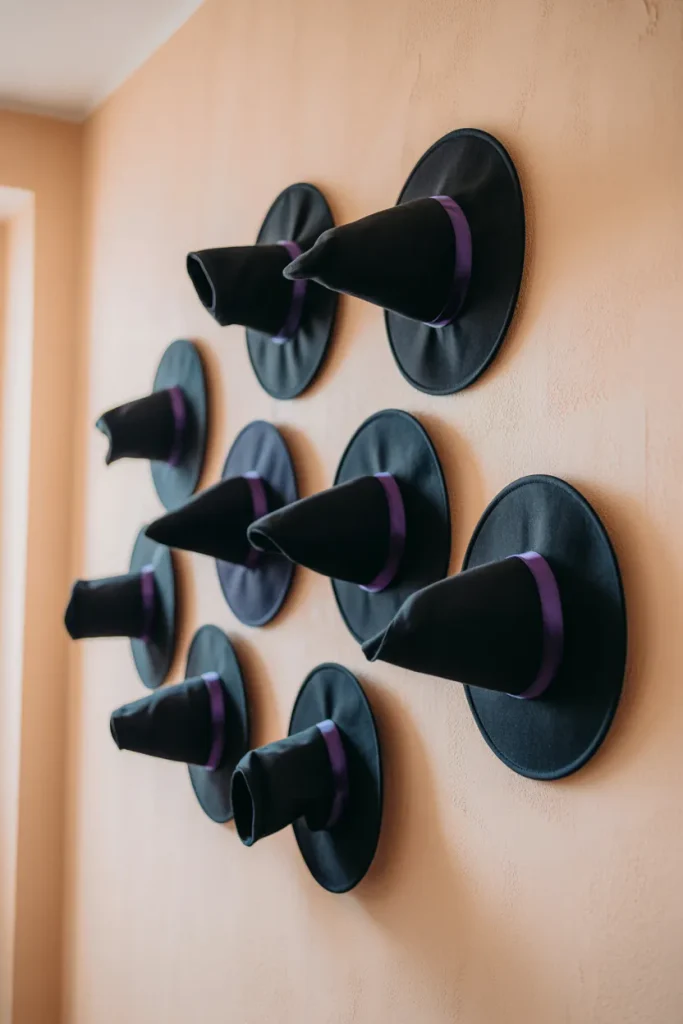
8. Witch Hat Wall Display
What You’ll Need
- Felt witch hats
- Removable adhesive strips
- Optional: ribbon for accents
How to Make It
- Arrange hats on the floor first to plan the layout.
- Attach removable adhesive strips to the back of each hat.
- Press hats onto the wall in a diagonal cluster pattern.
- Tie a small ribbon around the brim of each hat if desired.
- Adjust spacing for visual balance.
- Step back to check the overall arrangement.
Witch hat wall art brings Halloween into a space without cluttering shelves or tables. I’ve seen this arrangement work especially well in rentals since the adhesive strips leave no damage. It’s a fresh, easy way to fill vertical wall space with minimal effort.
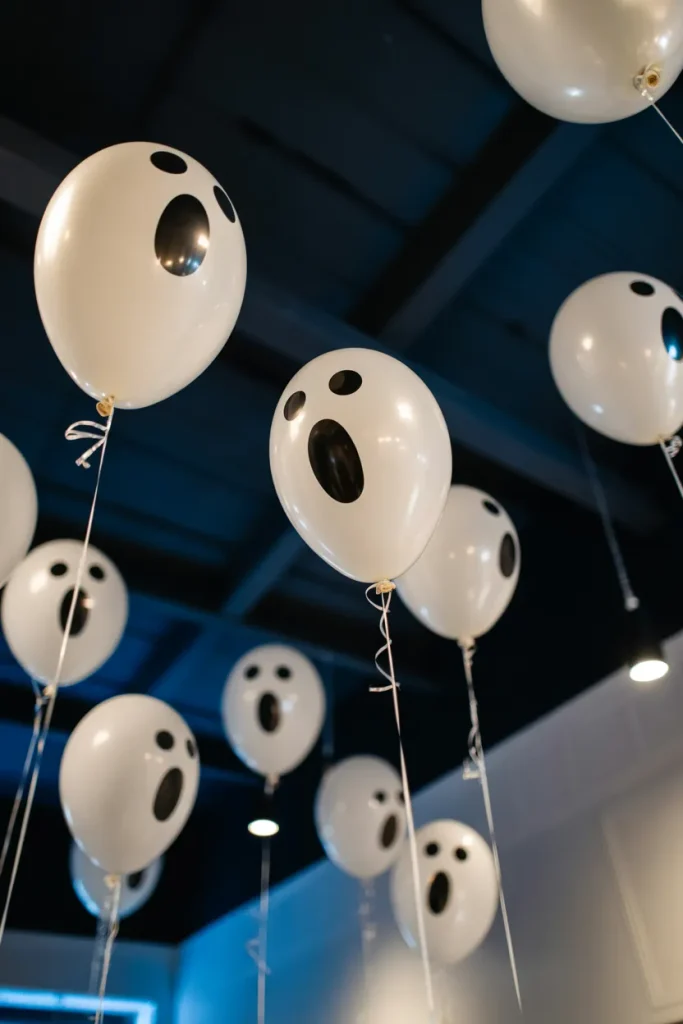
9. Floating Ghost Balloons
What You’ll Need
- White balloons
- Black permanent marker
- Fishing line or thin string
- Tape or hooks for hanging
How to Make It
- Inflate balloons to your desired ghost size.
- Draw simple ghost faces using black marker.
- Attach fishing line to the top of each balloon.
- Hang balloons at varying heights from the ceiling.
- Adjust spacing so balloons don’t touch each other.
- Let them sway naturally with airflow in the room.
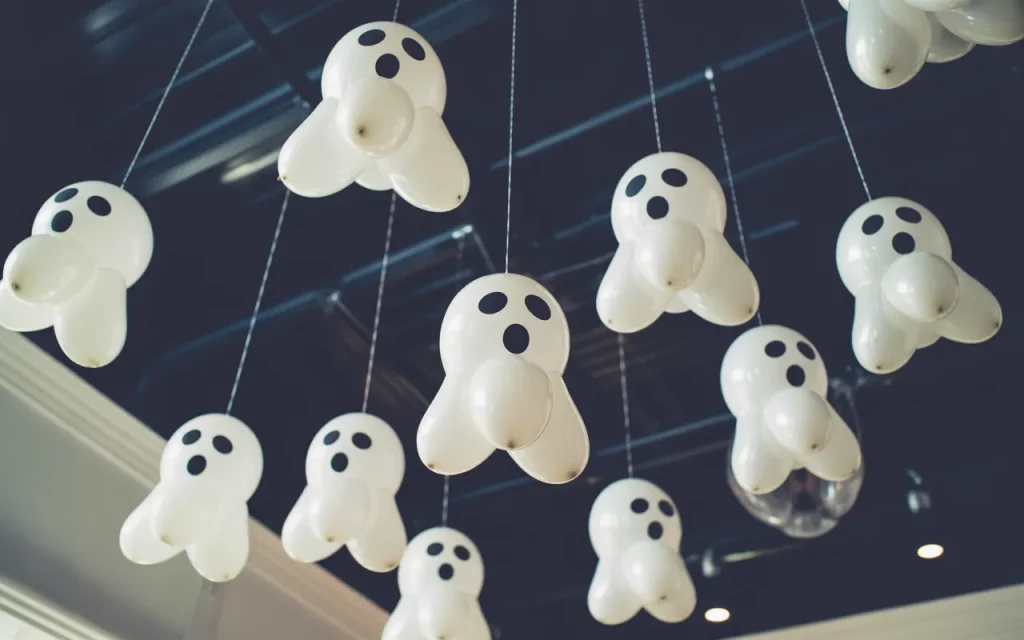
Floating ghost balloons add something most Halloween decor misses, movement in the air itself. I’ve tried hanging them at different heights, and it creates a playful, drifting effect. These Halloween DIY decorations are especially fun for kids’ parties since cleanup is effortless.
10. Glowing Eye Bushes
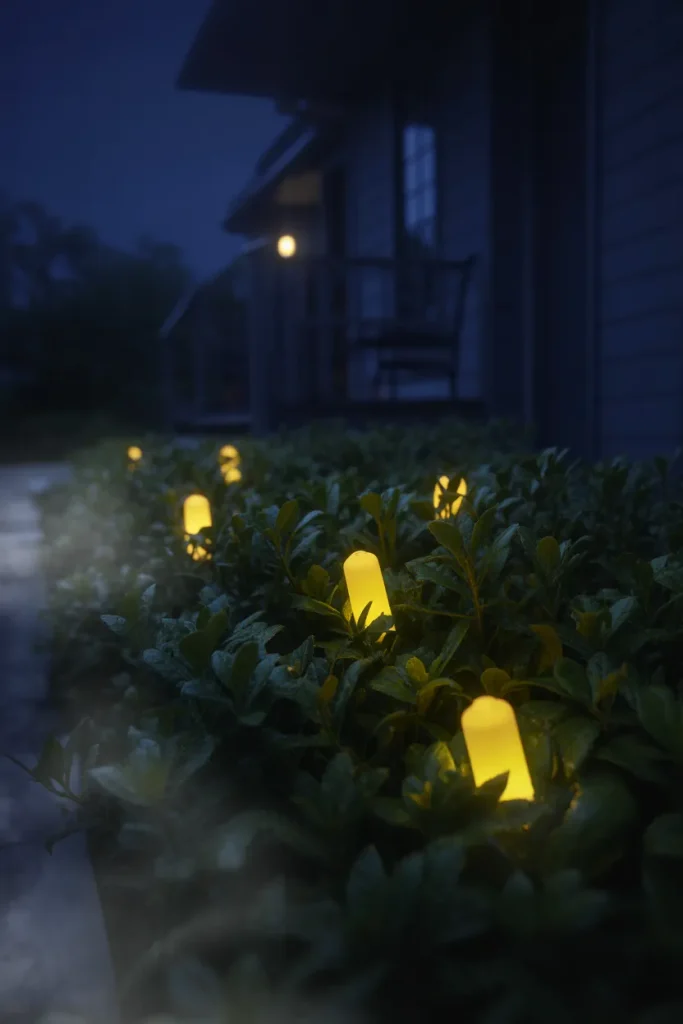
What You’ll Need
- Small battery-powered LED lights (yellow or red)
- Outdoor shrubbery or bushes
How to Make It
- Tuck LED lights into the branches of outdoor bushes.
- Space them at slightly uneven heights for realism.
- Angle the lights outward so they’re visible from the walkway.
- Test brightness once it’s dark outside.
- Adjust placement for the most natural, hidden effect.
- Turn lights on each evening as guests arrive.
Glowing eyes tucked into bushes deliver a big reaction for very little cost. I’ve tried this along walkways, and it surprises trick-or-treaters every single time. It’s one of the most effective outdoor Halloween DIY decorations you can set up in minutes.
11. Vintage Halloween Postcard Frames
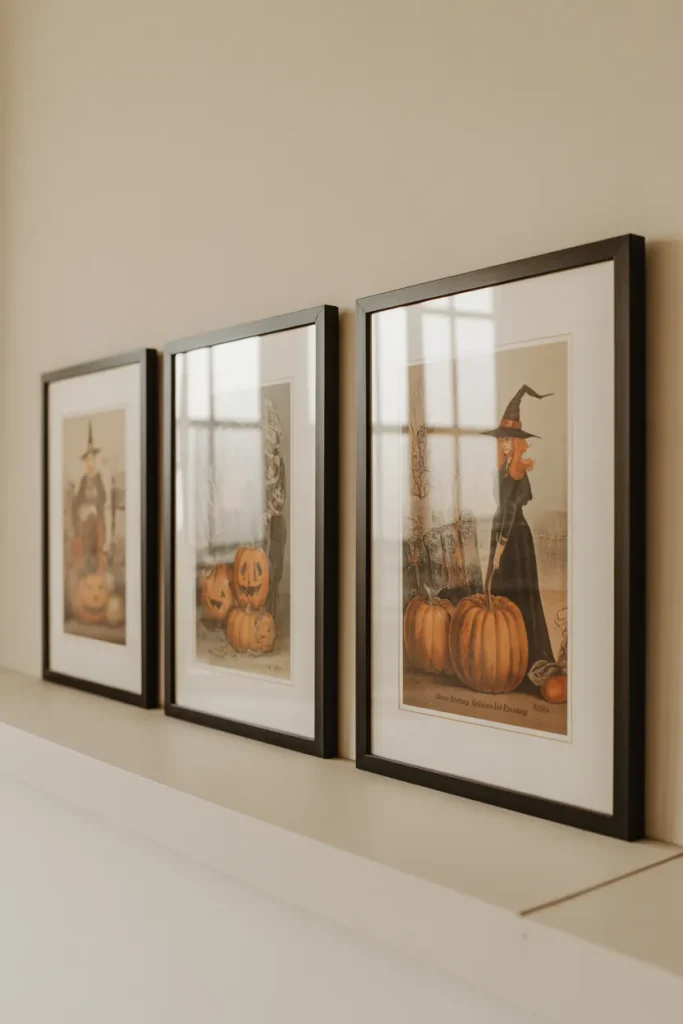
What You’ll Need
- Printed vintage-style Halloween images
- Thin black picture frames
- Adhesive wall hooks
How to Make It
- Print or purchase vintage-style Halloween images.
- Trim images to fit standard frame sizes.
- Insert each image into a frame.
- Arrange frames in a simple gallery layout on the wall.
- Hang using adhesive hooks for an easy, damage-free setup.
- Adjust spacing evenly between each frame.
Vintage postcard frames bring a nostalgic, collector’s charm rather than typical spooky decor. I’ve noticed this style ages beautifully compared to trend-based Halloween decorations. It’s a quieter way to celebrate the season while still keeping things visually interesting.
12. Candy Corn Garland
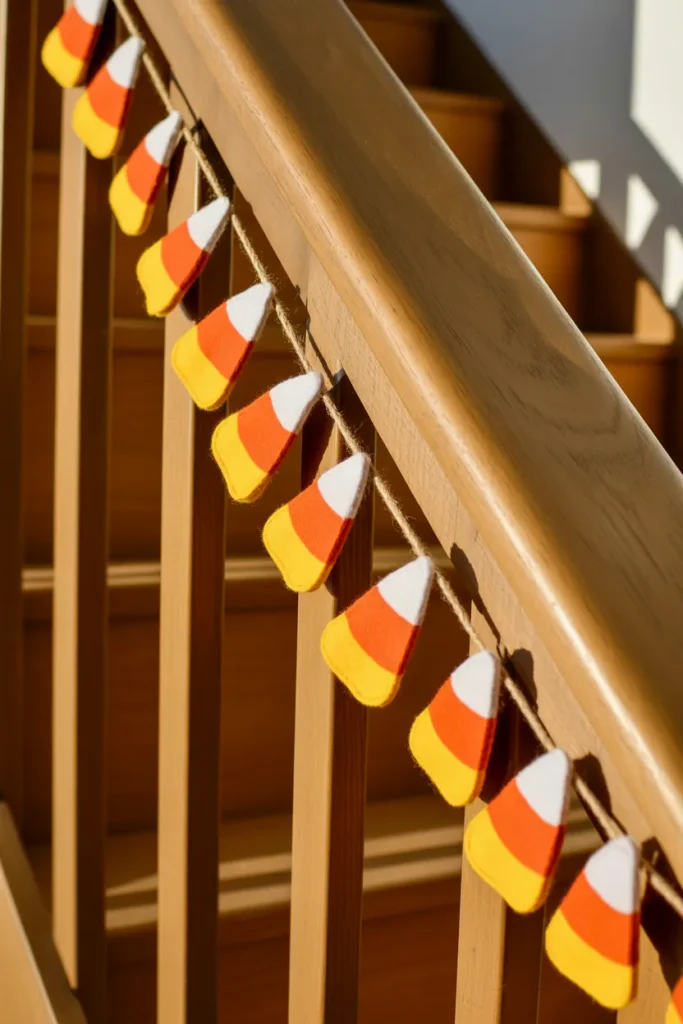
What You’ll Need
- Felt in yellow, orange, and white
- Scissors
- Twine
- Hot glue gun
How to Make It
- Cut felt into candy corn triangle shapes in each color.
- Layer the three colors together to form one candy corn piece.
- Glue the layers together at the base.
- Attach each piece along a length of twine.
- Space pieces evenly as you go.
- Hang along a railing, mantel, or window.
A candy corn garland brings cheerful color into decor often dominated by black and orange alone. I’ve tried both paper and felt, and felt holds its shape far better through repeated use. It’s a lighthearted addition among Halloween DIY decorations that still feels distinctly seasonal.
13. Black Cat Silhouette Cutouts
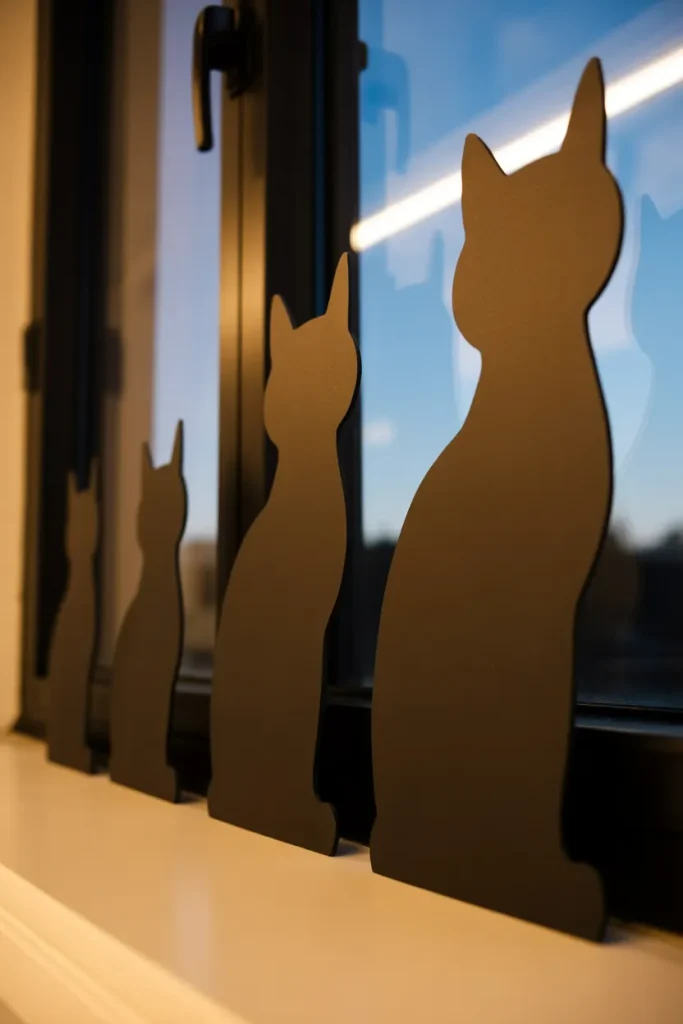
What You’ll Need
- Black cardstock
- Scissors or craft knife
- Pencil for tracing
- Removable tape
How to Make It
- Sketch or trace cat silhouettes in different poses.
- Cut out each shape carefully.
- Arrange them along a windowsill or shelf.
- Tape lightly in place if needed.
- Position near a light source for a backlit effect.
- Adjust heights for a more natural, varied look.
Black cat silhouettes prove dramatic decor doesn’t need to be complicated. I’ve noticed backlighting makes even simple cutouts look genuinely striking after dark. This is one of the more minimalist Halloween DIY decorations, perfect for renters and small spaces alike.
14. Spooky Message Banner
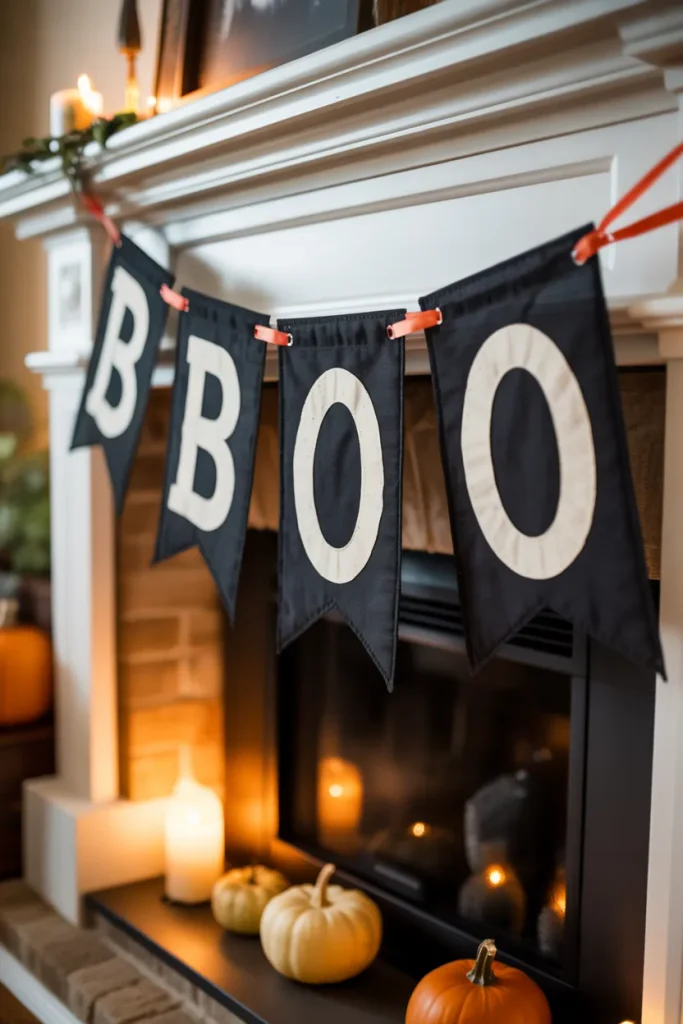
What You’ll Need
- Black fabric or felt
- White fabric paint or paint pen
- Twine
- Scissors
How to Make It
- Cut fabric into small triangle flags.
- Paint one letter onto each flag to spell your chosen word.
- Let the paint dry completely.
- Fold the top of each flag over a length of twine.
- Glue or sew the fold to secure it in place.
- Hang the finished banner above a mantel or doorway.
A spooky message banner adds humor and personality with just one glance. I’ve noticed hand-lettered versions feel warmer and more personal than anything printed. It’s a simple, budget-friendly way to round out a room’s Halloween DIY decorations.
15. String Light Pumpkin Path
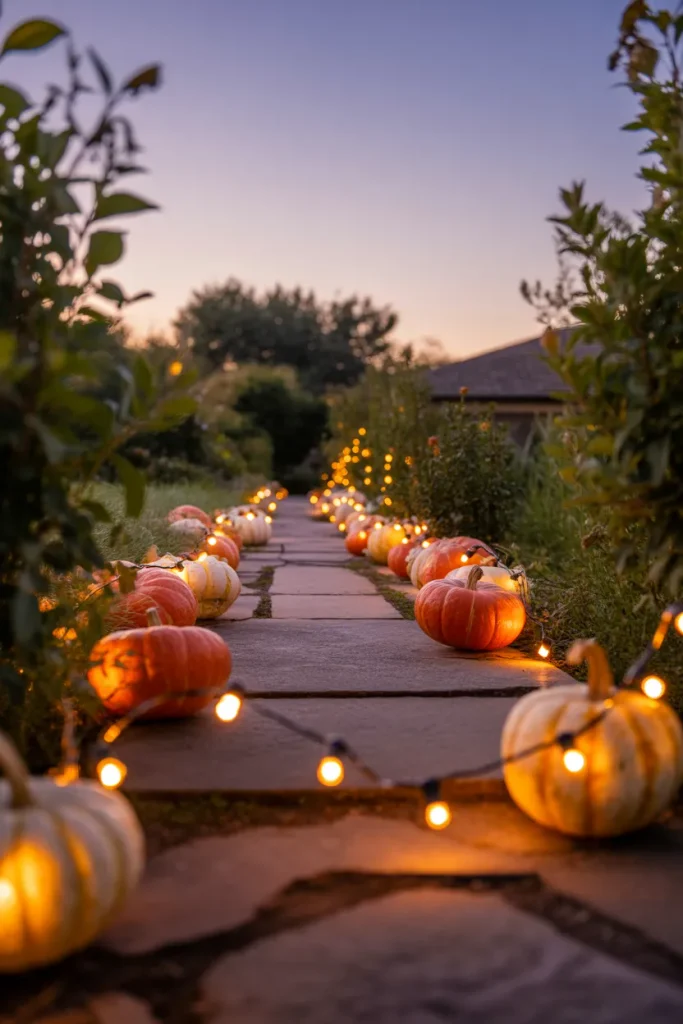
What You’ll Need
- Small plastic or faux pumpkins
- Battery-operated string lights
- Craft knife (for hollowing pumpkins if needed)
How to Make It
- Hollow out small faux pumpkins if they aren’t already open at the base.
- Thread string lights through each pumpkin.
- Space pumpkins evenly along a walkway.
- Tuck excess wiring behind plants or under mulch.
- Test lights before guests arrive.
- Turn on each evening as it gets dark.
A string light pumpkin path is the perfect way to close out a Halloween decorating project. I’ve noticed this idea gets saved and shared more than almost anything else I’ve tried. It’s a fitting final touch among Halloween DIY decorations, tying the whole yard together
Conclusion
Halloween decorating doesn’t have to mean expensive store-bought props to make an impression. From skeleton hand candy bowls to glowing eyes tucked into bushes, these Halloween DIY decorations prove that a little creativity goes a long way this season. I’ve seen how even one small handmade detail, like a mummy-wrapped vase or a paper bat cluster, can become the thing guests talk about all night. Pick one or two projects that fit your space, gather your supplies, and give them a try this week. Save this article to Pinterest so you can come back to it, and share it with anyone who loves a spooky, handmade Halloween as much as you do.