15 Dollar Tree Christmas Decorations That Look Expensive
Introduction
Ever picked up something from the dollar store and turned it into decor so good nobody believed the price? That’s exactly what these dollar tree christmas decorations are all about. If you’re looking to create a festive, elegant home without spending a fortune, you’re in the right place. In my experience, the most impressive holiday decor doesn’t come from the priciest materials, it comes from a few clever tricks with paint, ribbon, and texture. This roundup of 15 ideas covers everything from frosted glass vases to gold-tipped pinecones, each one simple enough for beginners yet polished enough to fool even the most detail-oriented guest. Whether you’re decorating on a tight budget or just love a good transformation, you’ll find something here worth trying today.
1. Frosted Glass Vase Centerpiece
What You’ll Need
- Clear dollar store glass vase
- Frosted glass spray paint
- Faux pine branches
- Small pinecones
How to Make It
- Clean the vase thoroughly and let it dry completely.
- Apply frosted spray paint in light, even coats outdoors or in a ventilated area.
- Let dry fully between coats for an even finish.
- Once dry, fill the vase with faux pine branches.
- Tuck pinecones into the base for added texture.
- Display on a mantel, table, or entryway console.
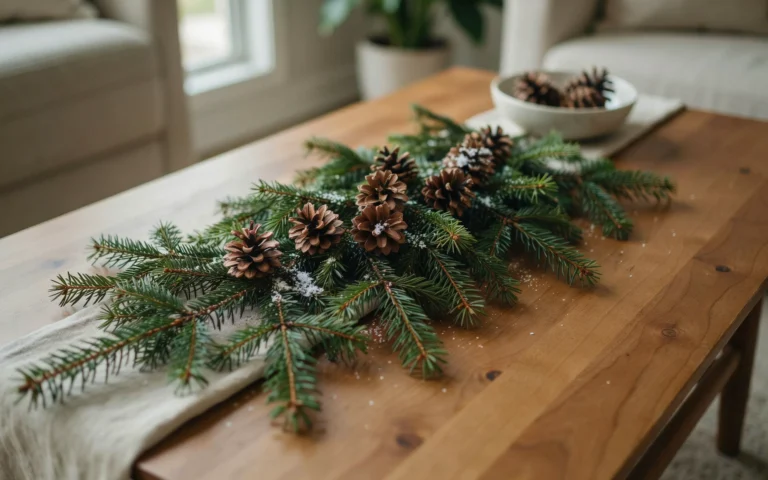
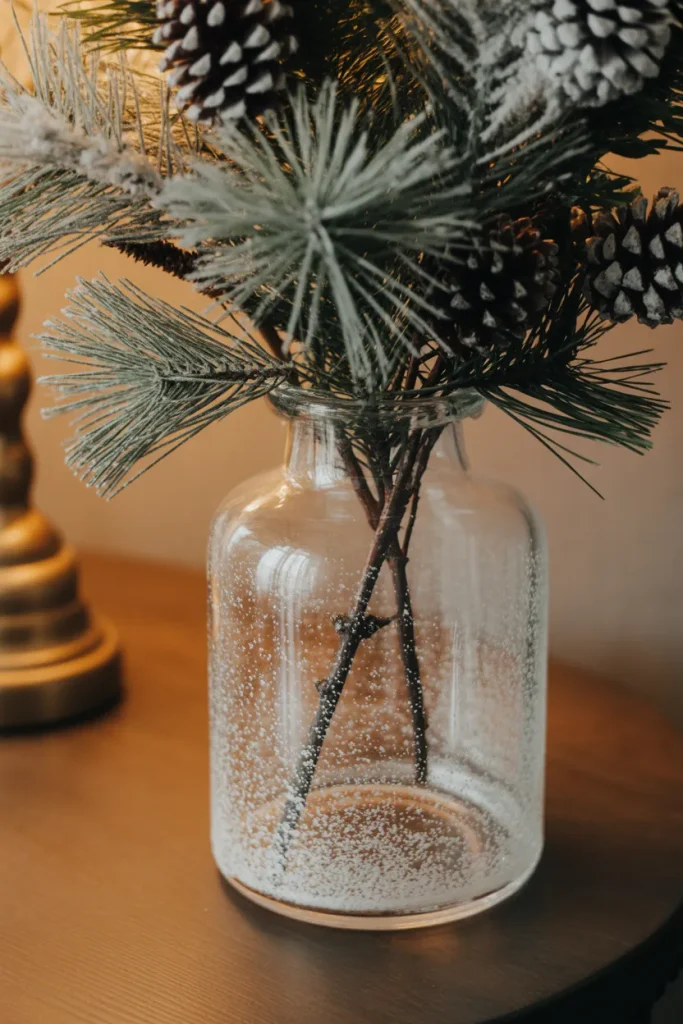
A frosted glass vase is one of the easiest dollar tree christmas decorations to transform into something that looks genuinely expensive. In my experience, the frosted spray paint completely changes how the glass reads, giving it a soft, etched quality that mimics pricier boutique decor. This project takes under fifteen minutes of active work, with most of the time spent waiting for the paint to dry between coats. Filling the finished vase with faux greenery creates an elegant centerpiece that costs only a few dollars total, yet looks like it came from a much higher-end home store.
2. Gold-Dipped Ornament Bowl
What You’ll Need
- Dollar store plastic ornaments
- Gold acrylic or metallic paint
- Small paper plate or tray for dipping
- Wooden or ceramic bowl
How to Make It
- Pour a thin layer of gold paint onto a paper plate.
- Dip each ornament halfway into the paint.
- Let excess paint drip off before setting aside to dry.
- Place ornaments on wax paper to dry completely without smudging.
- Once dry, arrange the ornaments inside a bowl.
- Display on a coffee table, console, or dining table.
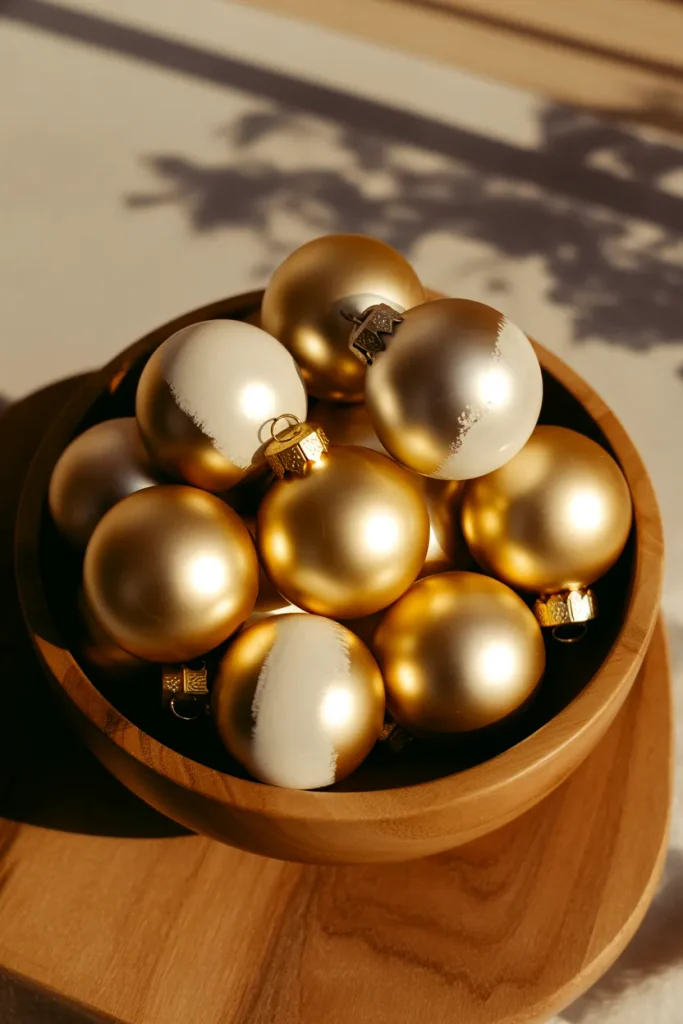
Dipping plain dollar store ornaments in gold paint is one of the simplest ways to elevate basic dollar tree christmas decorations into something that looks custom-designed. I’ve noticed that the half-dipped effect specifically reads as intentional and boutique, rather than the fully painted alternative, which can sometimes look flat or overly matte. This project works well using ornaments in mixed sizes, since the varying gold-to-plastic ratio adds visual interest once they’re grouped together. The finished bowl becomes a genuinely elegant centerpiece for a fraction of what a similar store-bought display would cost.
3. Faux Fur Wrapped Candle Holders
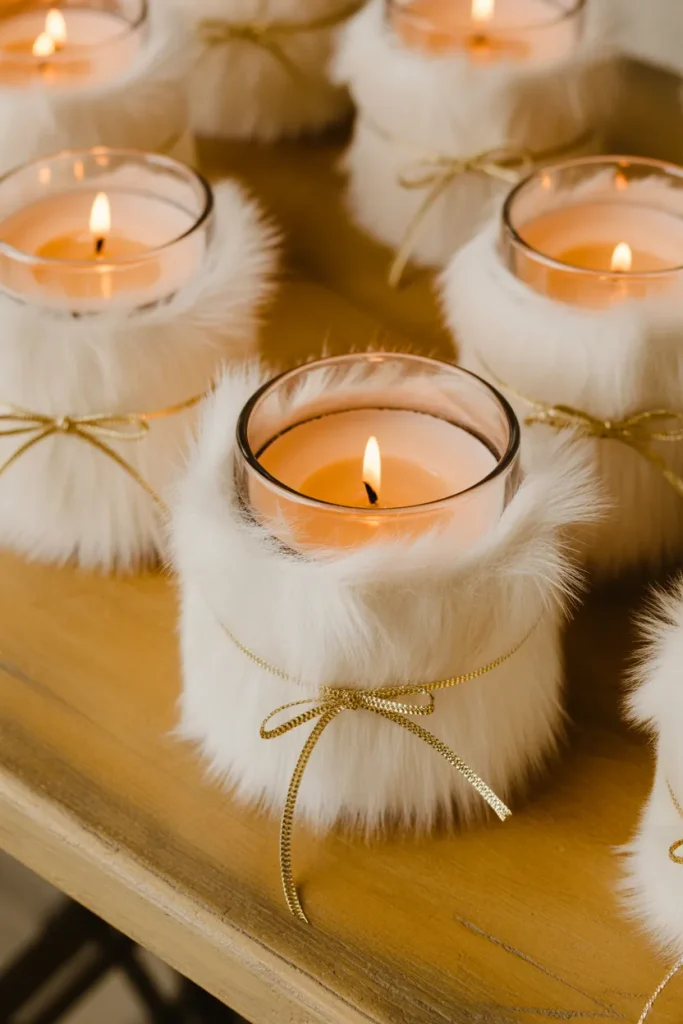
What You’ll Need
- Dollar store glass candle holders
- White faux fur fabric strips
- Thin gold ribbon or twine
- Hot glue gun
How to Make It
- Cut faux fur fabric into strips slightly taller than the candle holder.
- Wrap the fur strip around the base of the holder.
- Secure the seam with a small dot of hot glue.
- Tie a thin ribbon around the middle to hide the seam.
- Trim any uneven fur edges for a cleaner look.
- Place a candle inside and arrange in a cluster.
Wrapping plain glass candle holders in faux fur is one of the more luxurious-feeling dollar tree christmas decorations you can make in under ten minutes per piece. That’s why many designers recommend adding texture to plain glass rather than relying on color alone, since texture consistently reads as more expensive to the eye. I’ve seen this trick used to transform a bare, basic candle holder into something that looks like it belongs in a high-end holiday catalog. Grouping several together in varying heights creates a cozy, elevated display for a mantel or table with minimal cost involved.
4. Champagne Flute Ornament Stands

What You’ll Need
- Dollar store champagne flutes
- Small decorative ornaments
- Optional: gold spray paint for the stem
How to Make It
- Turn the champagne flute upside down so the base sits on top.
- Optionally spray paint the stem gold for extra shine.
- Let paint dry completely if used.
- Place a small ornament on top of the flat base.
- Repeat with several flutes at varying heights.
- Arrange as a grouped display down a table runner.
Turning cheap champagne flutes into ornament pedestals is one of the cleverest dollar tree christmas decorations because it uses a completely unexpected object in a new way. I’ve noticed that varying the pedestal heights across several flutes creates a display that looks like it was professionally styled for a magazine spread. This trick works particularly well down the center of a dining table, where the raised ornaments catch candlelight beautifully once evening arrives. Because the flutes themselves are inexpensive, this display can be scaled up easily without much added cost.
5. Velvet Ribbon Wrapped Pillar Candles
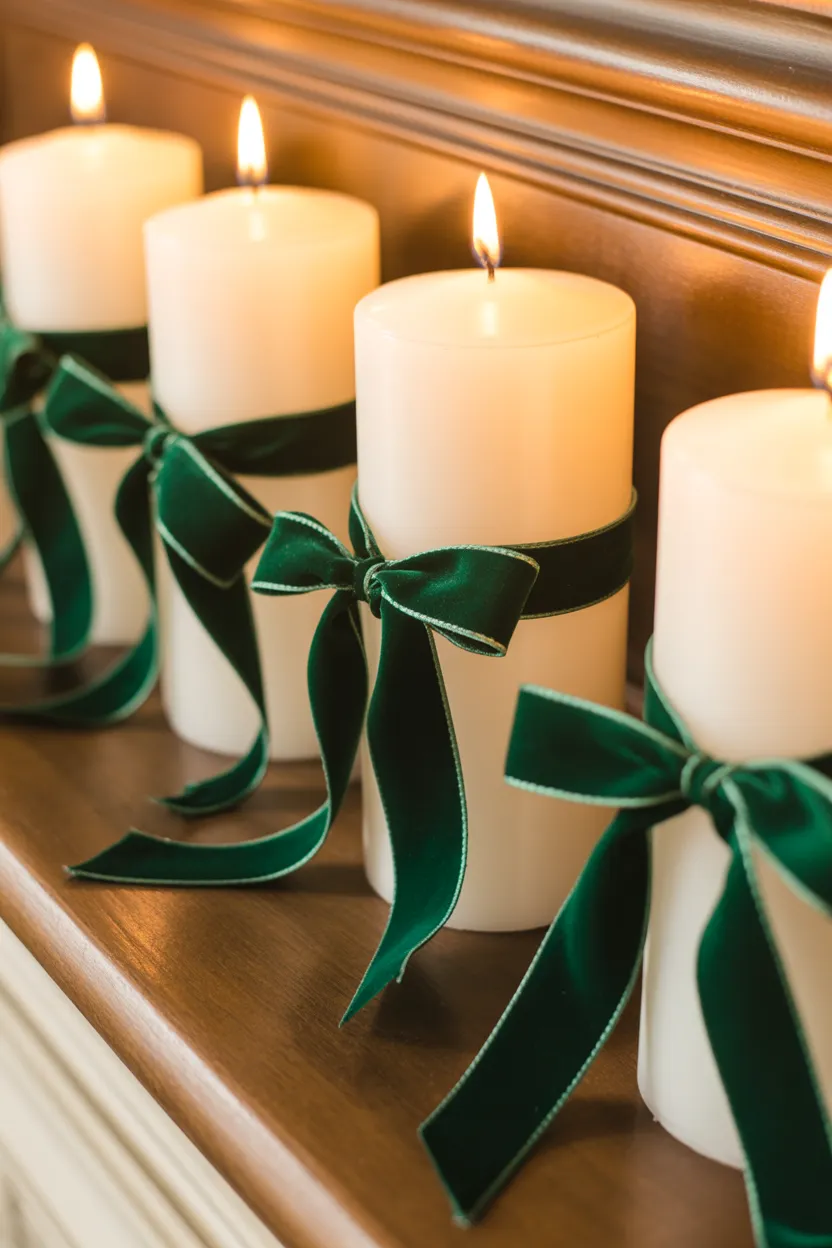
What You’ll Need
- Dollar store pillar candles
- Velvet ribbon
- Scissors
- Low-temperature hot glue gun
How to Make It
- Measure ribbon length needed to wrap around the candle base.
- Apply a small dot of glue to secure the ribbon’s starting point.
- Wrap ribbon evenly around the candle.
- Secure the end with another small dot of glue.
- Tie a small bow using leftover ribbon.
- Repeat for additional candles in varying heights.
Velvet ribbon is one of the simplest upgrades for turning plain dollar tree christmas decorations into something that feels genuinely rich and traditional. I’ve tried this exact trick using leftover ribbon scraps, and the velvet texture alone makes an enormous difference compared to plain candles left bare. This project works beautifully grouped in varying heights along a mantel, since the deep color and texture catch candlelight in a way flat white candles simply can’t. It’s one of the quickest projects on this list, taking only a few minutes per candle to complete.
Want even more handmade holiday ideas beyond the dollar store? Check out 15 DIY Christmas Decorations for a Handmade Holiday for more budget-friendly inspiration.
6. Faux Marble Coaster Stack
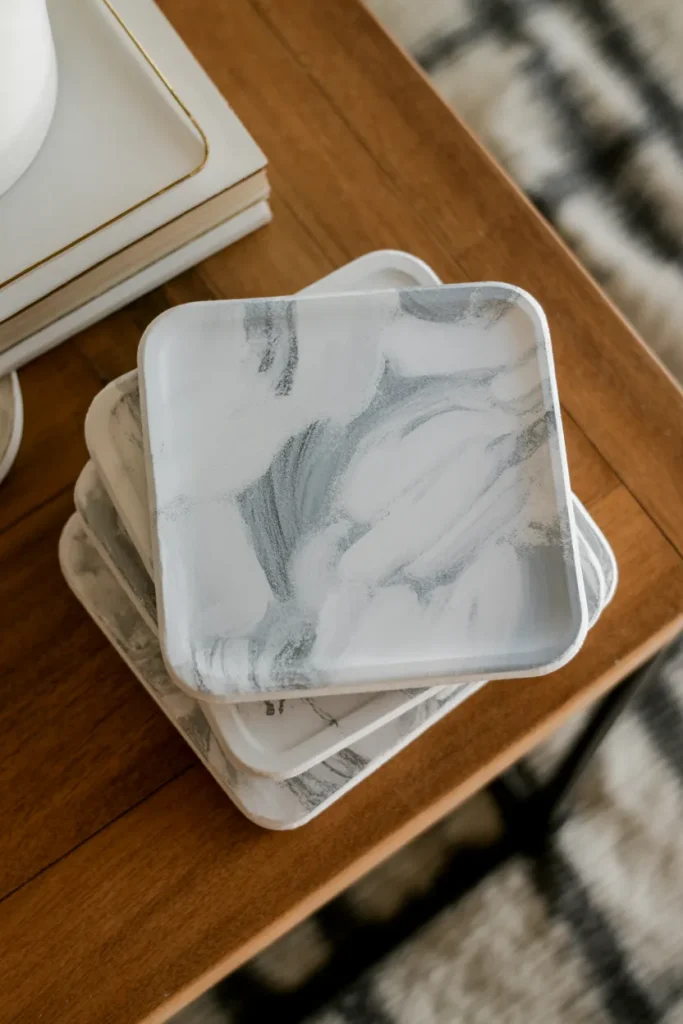
What You’ll Need
- Dollar store plain coasters
- White and gray acrylic paint
- Small paintbrush or sponge
- Clear sealant spray
How to Make It
- Paint each coaster with a base coat of white.
- Once dry, dab gray paint lightly to create marble-like veining.
- Blend gently with a dry brush for a natural effect.
- Let dry completely.
- Seal with a clear spray for durability.
- Stack coasters together for display or use.
A faux marble finish on plain dollar store coasters is a surprisingly effective way to add a touch of sophistication among your dollar tree christmas decorations. I’ve noticed that this technique works best with a light hand, since overdoing the gray veining can make the effect look muddy rather than convincing. This project doubles as both decor and function, since the coasters remain usable throughout the year once the holidays end. Stacked together on a coffee table, they add a subtle, elegant detail that most guests wouldn’t guess started as a dollar store item.
7. Eucalyptus and Berry Garland
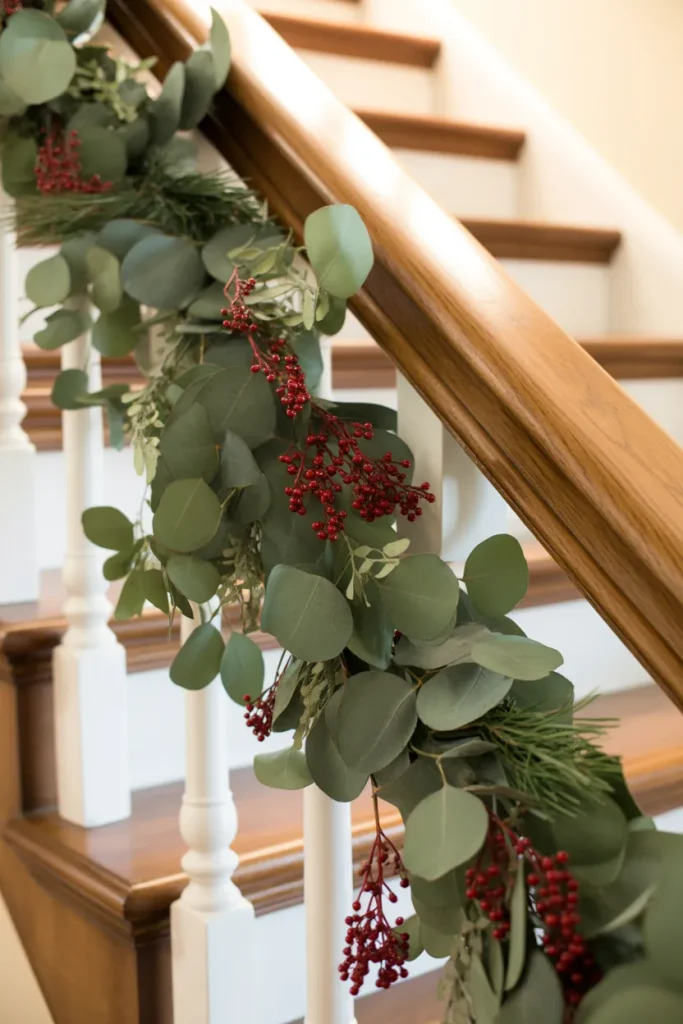
What You’ll Need
- Dollar store faux eucalyptus stems
- Red berry picks
- Floral wire
- Twine
How to Make It
- Lay eucalyptus stems end to end along a length of twine.
- Secure each stem with floral wire as you go.
- Tuck berry picks between the eucalyptus for color.
- Continue building the garland to your desired length.
- Adjust stems for a full, natural look.
- Drape along a railing, mantel, or doorway.
Combining faux eucalyptus with berry picks creates one of the more botanical, upscale-looking dollar tree christmas decorations on this list. I’ve seen this pairing used often in higher-end holiday styling, and recreating it with dollar store materials delivers a nearly identical result for a fraction of the price. This garland works particularly well because the muted green tone photographs beautifully against natural wood, unlike brighter, more traditional Christmas colors. Building the garland does take a bit of patience, but the finished length can be draped anywhere greenery would typically be needed.
8. Painted Terracotta Pot Trees
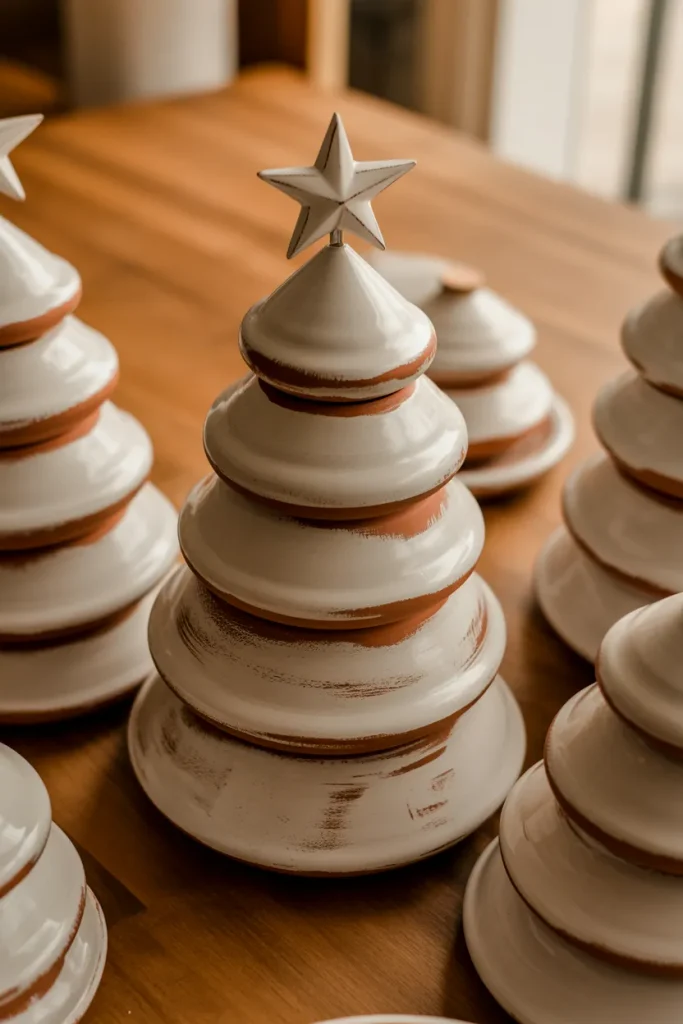
What You’ll Need
- Dollar store terracotta pots in graduated sizes
- White acrylic paint
- Small wooden star or bead for the top
- Hot glue gun
How to Make It
- Paint each pot white and let dry completely.
- Stack pots from largest to smallest, gluing each layer in place.
- Glue a small star or bead on top as the tree topper.
- Add a second coat of paint if needed for full coverage.
- Let dry fully before handling.
- Display in clusters of varying heights.
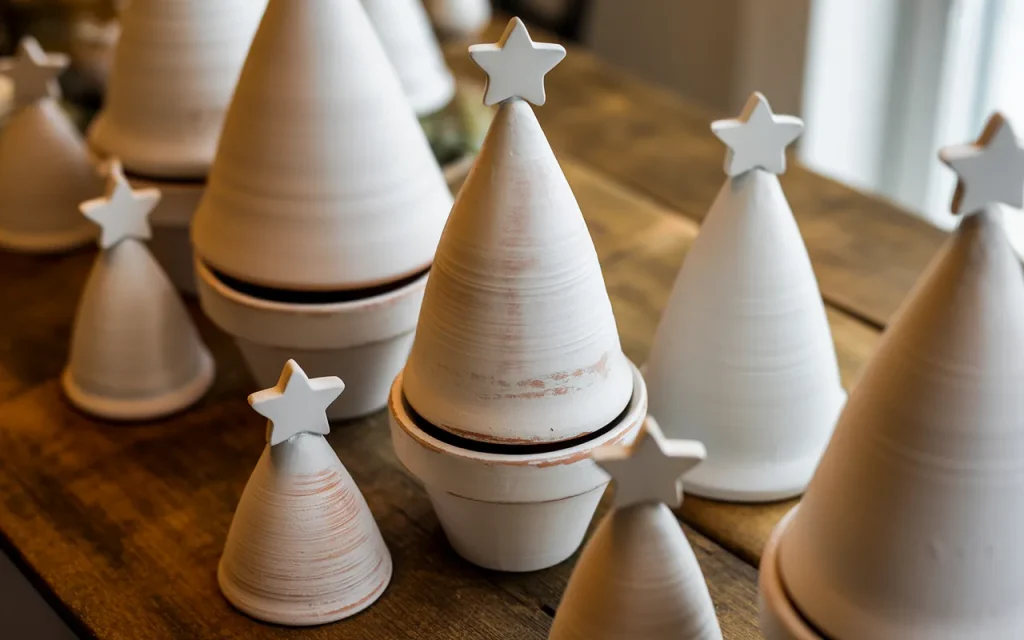
Stacking painted terracotta pots into small tree shapes is one of the more creative dollar tree christmas decorations, transforming a completely unexpected material into festive decor. I’ve noticed that painting the pots a uniform white, rather than leaving the natural terracotta color, makes the biggest difference in giving this project a polished, boutique feel. This idea works particularly well displayed in clusters of three or more at different heights, mimicking a small forest of mini trees. Because terracotta pots are inexpensive and widely available, this is an easy project to make in bulk for a fuller display.
9. Silver Charger Plate Centerpiece Base
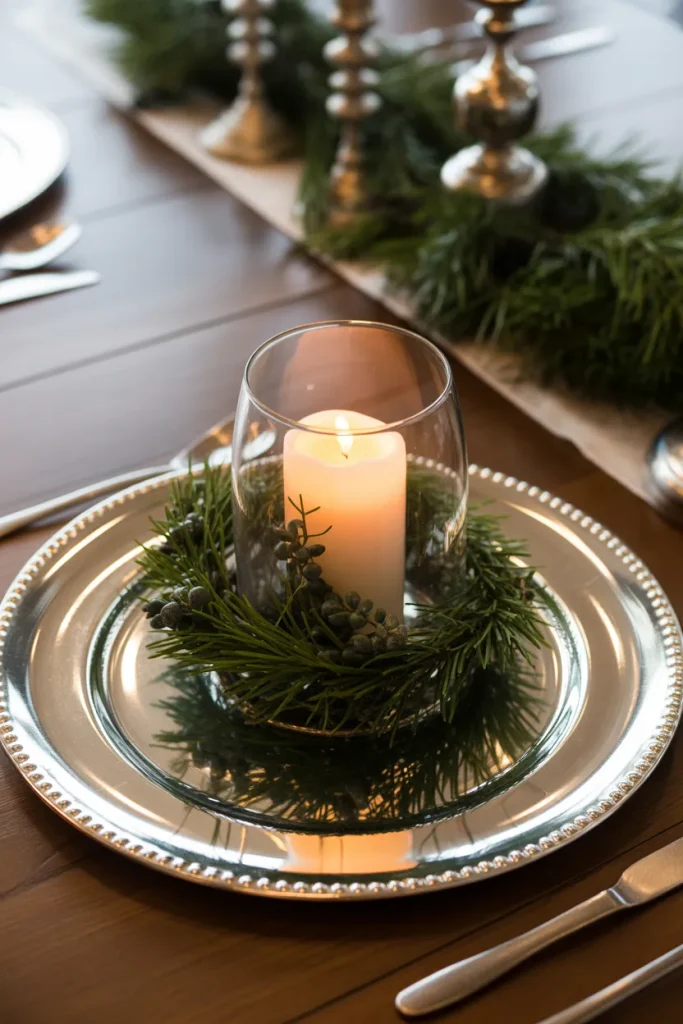
What You’ll Need
- Dollar store silver charger plates
- Glass hurricane candle holder
- Faux greenery sprigs
- Pillar candle
How to Make It
- Place the charger plate flat on the table as a base.
- Center the glass hurricane holder on top.
- Insert a pillar candle inside the hurricane.
- Tuck greenery sprigs around the base of the hurricane.
- Adjust greenery for a full, layered look.
- Repeat for additional place settings if needed.
A silver charger plate is one of the easiest bases for elevating dollar tree christmas decorations into something that looks like a formal table setting. I’ve seen this exact layering technique used at much higher-end dinner parties, and recreating it with dollar store materials looks nearly identical once assembled. The reflective silver surface catches candlelight beautifully, adding shine and dimension beneath the centerpiece itself. This idea works particularly well for holiday dinners, where a few of these bases down the table instantly elevates the entire setting.
10. Faux Snow Flocked Branches
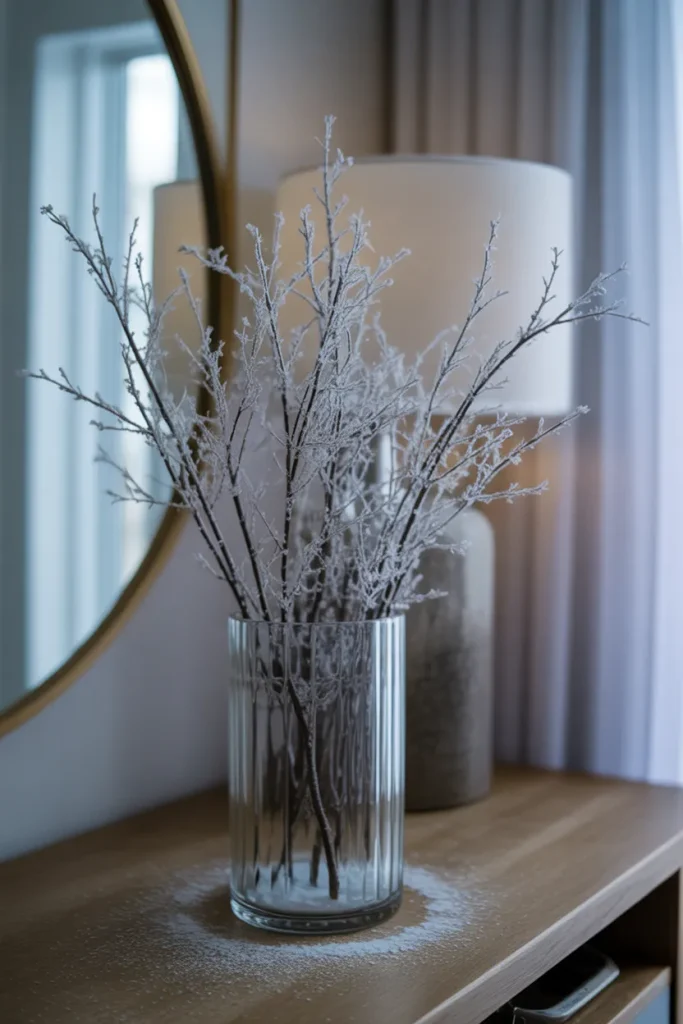
What You’ll Need
- Dollar store faux branches
- White flocking powder or spray snow
- Tall glass vase
- Newspaper for mess control
How to Make It
- Lay branches on newspaper to protect surfaces.
- Apply flocking powder or spray snow in light, even coats.
- Let dry completely between coats if layering.
- Shake off any excess powder gently.
- Arrange branches in a tall glass vase.
- Display on a console table or entryway.
Flocked branches bring a serene, wintry elegance to dollar tree christmas decorations that feels far more expensive than the actual materials involved. I’ve noticed that this project works best with a light, even coat rather than a heavy application, since too much flocking powder can look clumpy rather than naturally snow-dusted. Displayed in a simple glass vase, these branches add height and texture to an entryway or console table without needing any additional ornaments. This is one of the more visually striking projects on this list, especially photographed against natural light.
11. Gold Rimmed Dollar Store Plates
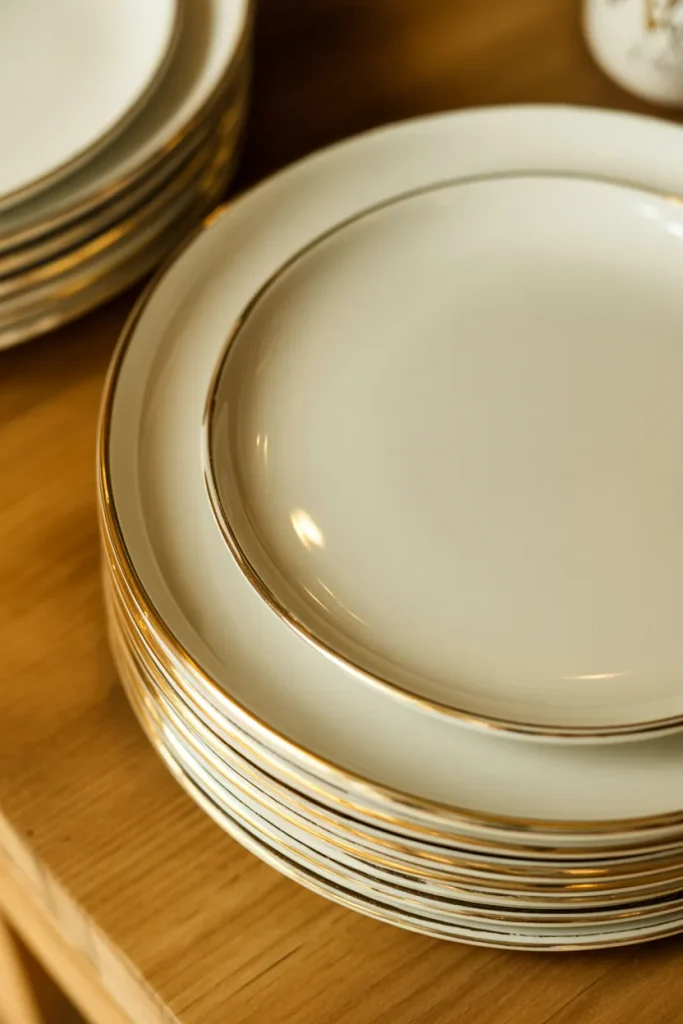
What You’ll Need
- Dollar store plain white plates
- Gold porcelain paint pen
- Painter’s tape (optional)
How to Make It
- Clean the plate surface thoroughly.
- Use painter’s tape as a guide if desired for a straight line.
- Carefully trace the rim with a gold paint pen.
- Let dry according to the pen’s instructions.
- Bake if required by the paint pen brand for durability.
- Handle gently and hand wash to preserve the finish.
Adding a hand-painted gold rim to plain dollar store plates is a small detail that makes a significant difference among dollar tree christmas decorations. I’ve tried this project myself, and the steady hand required is worth the effort once the plates are stacked and displayed together. This idea works particularly well as part of a holiday table setting, where the subtle gold accent ties together with other metallic details already in the room. Because porcelain paint pens are inexpensive and widely available, this project costs very little beyond the plates themselves.
12. Faux Boxwood Wreath Upgrade
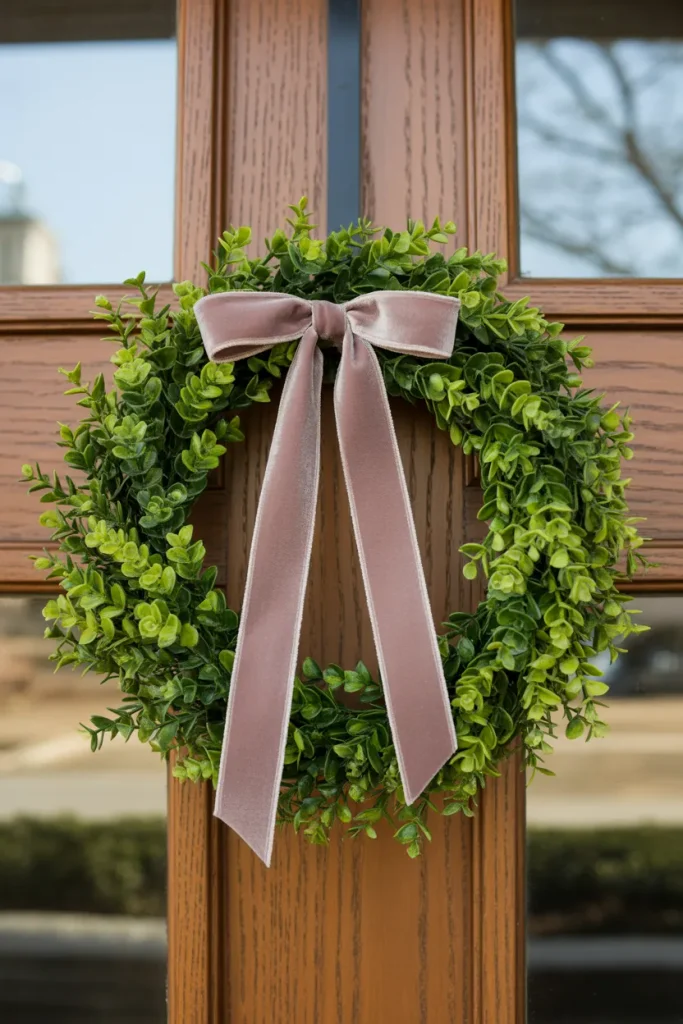
What You’ll Need
- Dollar store plain wreath base
- Faux boxwood stems
- Velvet ribbon
- Floral wire or hot glue
How to Make It
- Attach boxwood stems around the wreath base using wire or glue.
- Continue layering stems until the base is fully covered.
- Trim uneven stems for a rounded, full shape.
- Tie a velvet ribbon bow at the top or bottom.
- Secure the bow with wire or glue.
- Hang on a front door or mantel.
Upgrading a plain dollar store wreath with faux boxwood stems creates one of the more sophisticated dollar tree christmas decorations on this list. I’ve noticed that boxwood specifically reads as more elegant than typical pine, since it’s often associated with higher-end floral arrangements rather than traditional holiday greenery. This project takes a bit more time than others on this list, but the fuller, more textured result looks dramatically different from the plain wreath it started as. Adding a velvet ribbon bow ties the whole look together into something that feels genuinely boutique.
13. Mercury Glass Spray Paint Ornaments
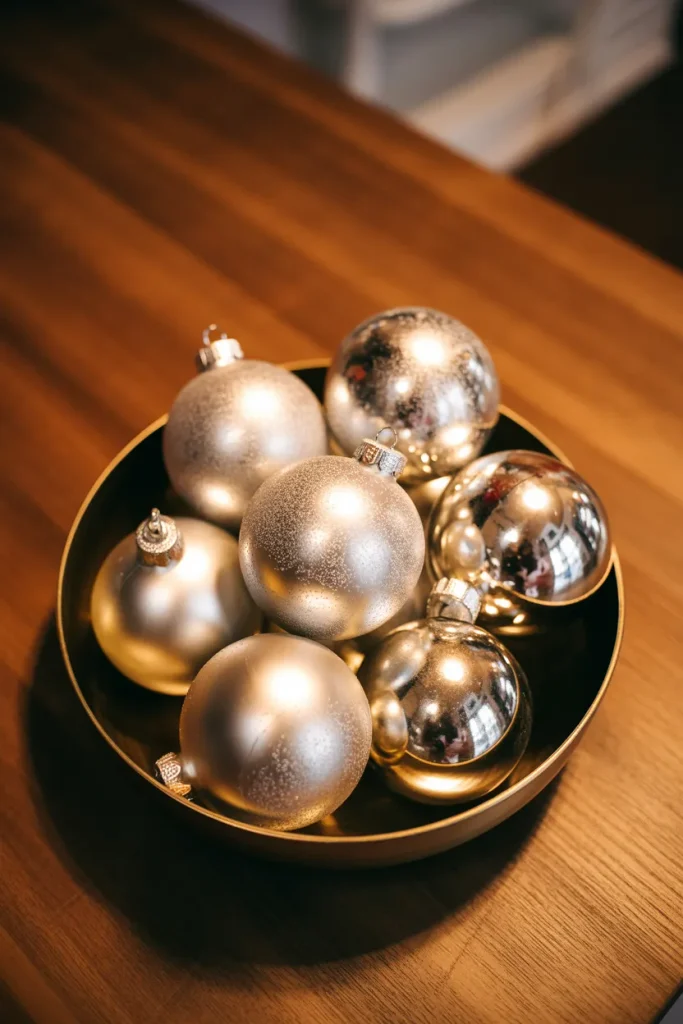
What You’ll Need
- Clear dollar store plastic ornaments
- Mirror-effect or mercury glass spray paint
- Vinegar and water spray bottle
- Newspaper for mess control
How to Make It
- Spray the inside of each ornament with mirror-effect paint.
- While still wet, lightly mist with a vinegar-water mixture for texture.
- Let the paint react and dry according to product instructions.
- Repeat for a fuller mercury glass effect if needed.
- Let dry completely before handling.
- Display in a bowl or hang on the tree.
Mercury glass spray paint is one of the more advanced techniques for transforming basic dollar tree christmas decorations into something that looks like genuine antique glass. I’ve seen this exact effect used in high-end boutique shops, and recreating it at home costs only a few dollars in supplies. This project does require a bit of practice to get the mottled, aged texture just right, but even imperfect results still look intentional and elegant. Grouped together in a bowl or hung on a tree, these ornaments catch light in a way that plain plastic simply can’t replicate.
14. Faux Fur Tree Skirt
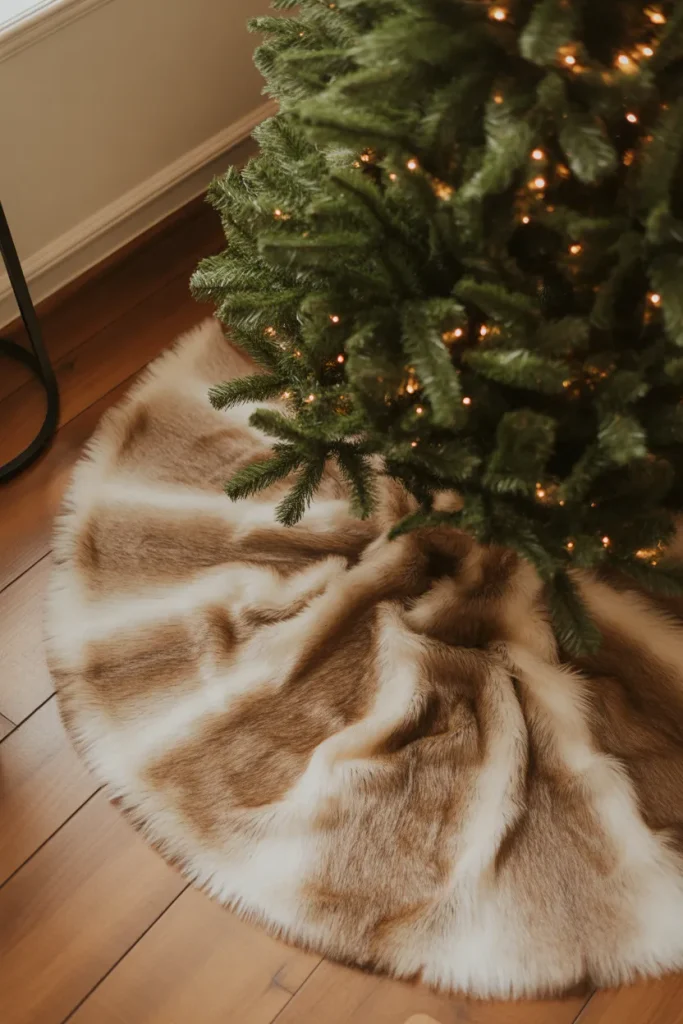
What You’ll Need
- Dollar store fleece or faux fur fabric
- Scissors
- Ribbon or twine for the tie closure
How to Make It
- Cut fabric into a large circle to fit around the tree base.
- Cut a straight line from the edge to the center.
- Cut a small circle at the center for the tree trunk.
- Hem the edges if desired for a cleaner finish.
- Attach ribbon ties at the slit opening.
- Wrap around the tree base and tie closed.
A faux fur tree skirt made from inexpensive fabric is one of the coziest dollar tree christmas decorations to add underneath any tree. I’ve noticed that cream or ivory tones tend to look more luxurious than bright white, especially once tree lights reflect off the soft, textured surface. This project requires only basic cutting skills, making it accessible even for beginners with no sewing experience needed. Once wrapped around the tree base, the plush texture instantly makes the whole display feel more finished and intentional.
15. Gold Leaf Pinecone Accents
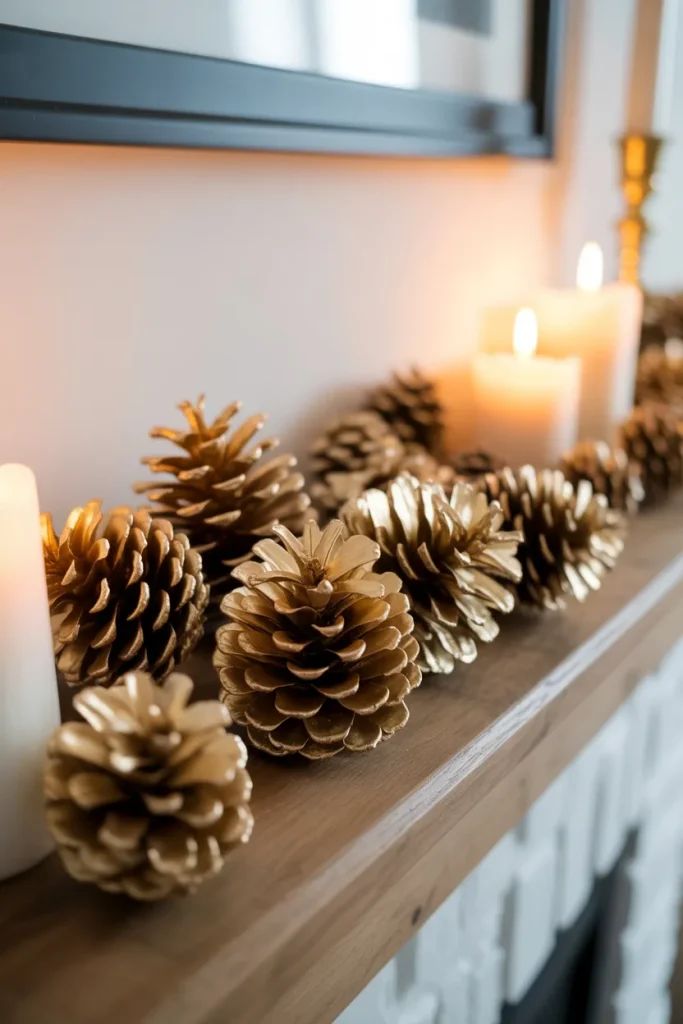
What You’ll Need
- Dollar store or gathered pinecones
- Gold leaf paint or gold spray paint
- Small paintbrush
- Wax paper for drying
How to Make It
- Dip the tips of each pinecone into gold paint.
- Let excess paint drip off before setting aside.
- Place on wax paper to dry completely.
- Add a second light coat for more shimmer if desired.
- Let dry fully before handling.
- Scatter across a mantel, table, or wreath.
Gold-tipped pinecones are one of the simplest finishing touches among dollar tree christmas decorations, adding just enough shimmer without overwhelming a display. I’ve tried this technique using pinecones gathered for free outdoors, making this project cost next to nothing beyond a small bottle of gold paint. Scattered across a mantel alongside candles or greenery, these pinecones catch light beautifully once evening sets in. It’s a small, low-effort detail that consistently makes the biggest visual impact relative to how little time it actually takes.